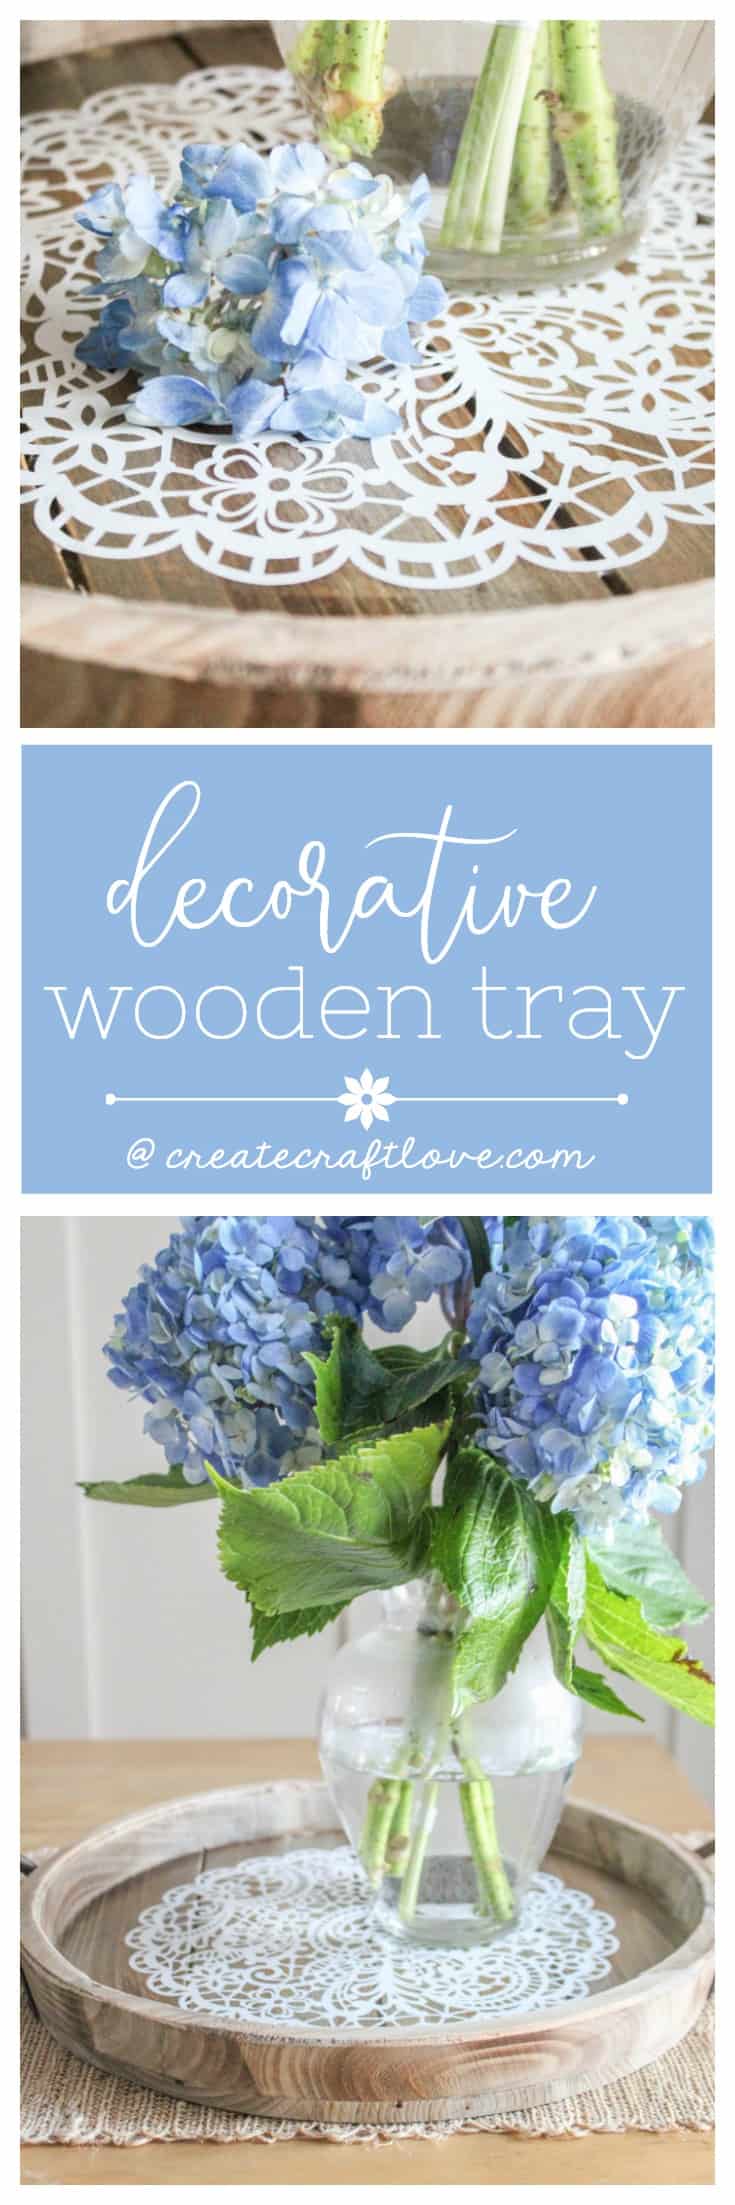
This Decorative Wooden Tray is your entertaining companion! Serve drinks with it or use as a centerpiece to complete your tablescape!
This post contains affiliate links for your convenience!
Make your own Decorative Wooden Tray!
Adhesive vinyl
Cricut Explore Air 2
Cricut BrightPad
Weeding tool set
Transfer tape
Wooden tray
Mod podge
I purchased this wooden tray at JoAnn Fabric last week. I knew it would fit in well with my farmhouse decor but I wanted to dress it up a bit. That’s when I decided to give this intricate lace doily image a try!
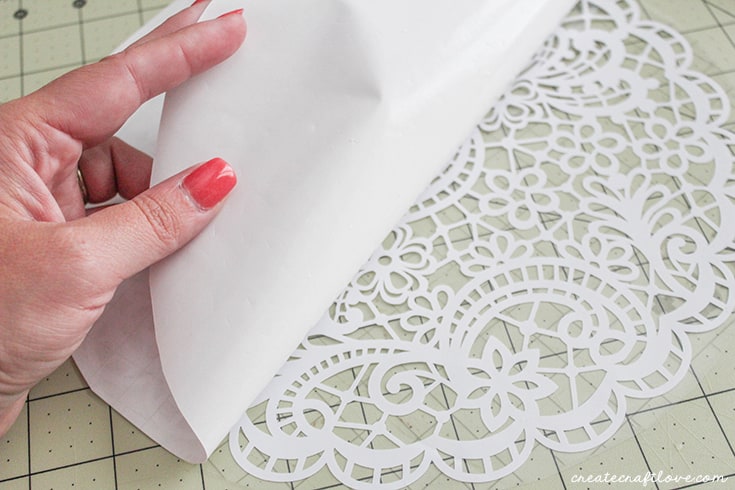
Earlier this week, I introduced you to the Cricut BrightPad and showed you how much it helps with weeding vinyl. This is the image I was weeding in that post. (In case you missed it, click HERE!) I’m not going to lie. It took me about 2 hours to weed out all the excess vinyl. But I love how it looks. So it was worth it. In the past, I would have gotten frustrated after about 10 minutes. I’m not very patient. But using the BrightPad, I was able to see so well that I just kept going.
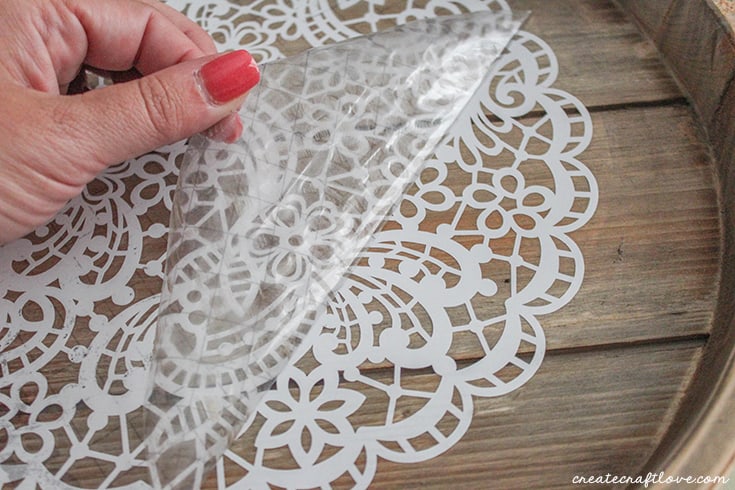
Once your image is weeded, you will want to use the transfer tape to apply it to the tray. I love the Cricut transfer tape because it is clear and gridded so you can line it up perfectly. With something this intricate, I laid the transfer tape out first and then laid the vinyl face down on the sticky side.
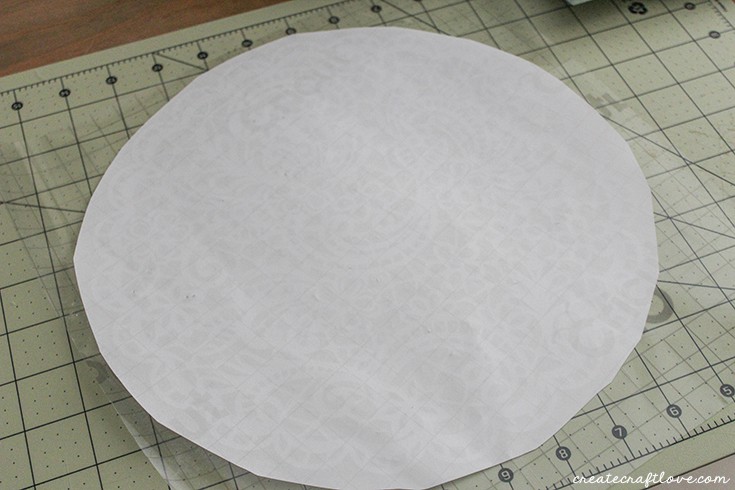
Use your scraper tool to stick the vinyl to the transfer tape. Slowly peel away the vinyl backing. Your vinyl should now be on the transfer tape.
Position the vinyl and transfer tape where you want it on the wooden tray. Use the scraper tool again to adhere the vinyl to the wooden tray. Carefully remove the transfer tape.
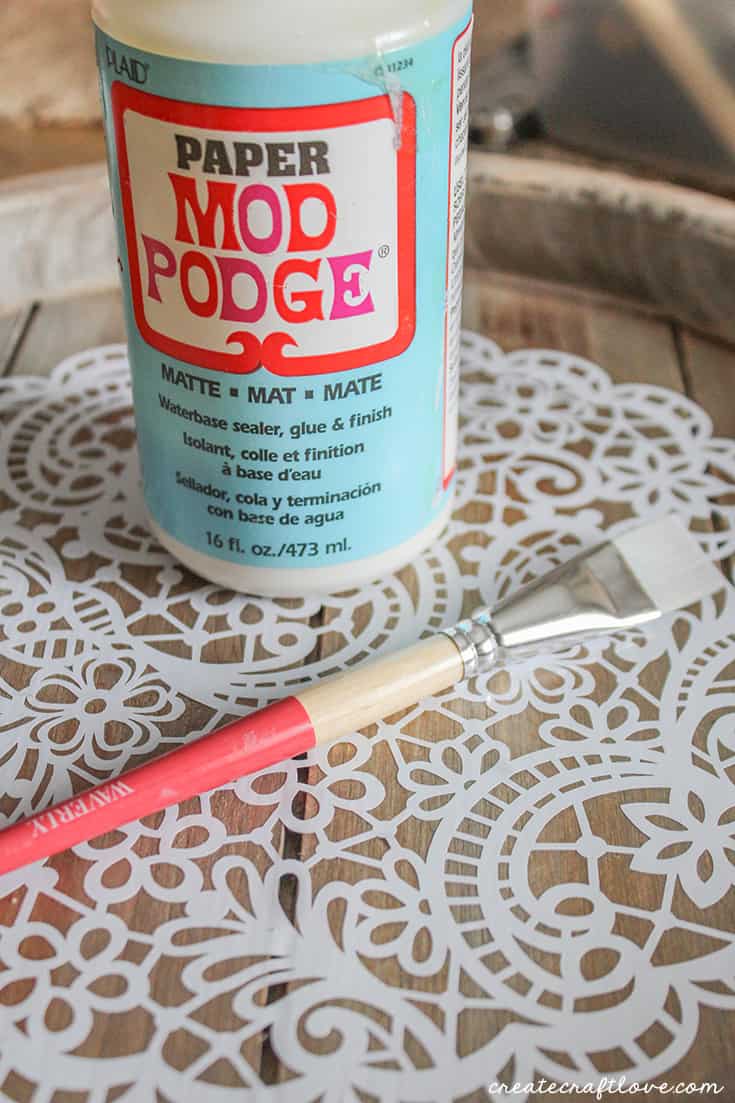
To seal the vinyl, I applied two coats of Mod Podge. This will also create a wipe-able surface if you use it for serving your guests.
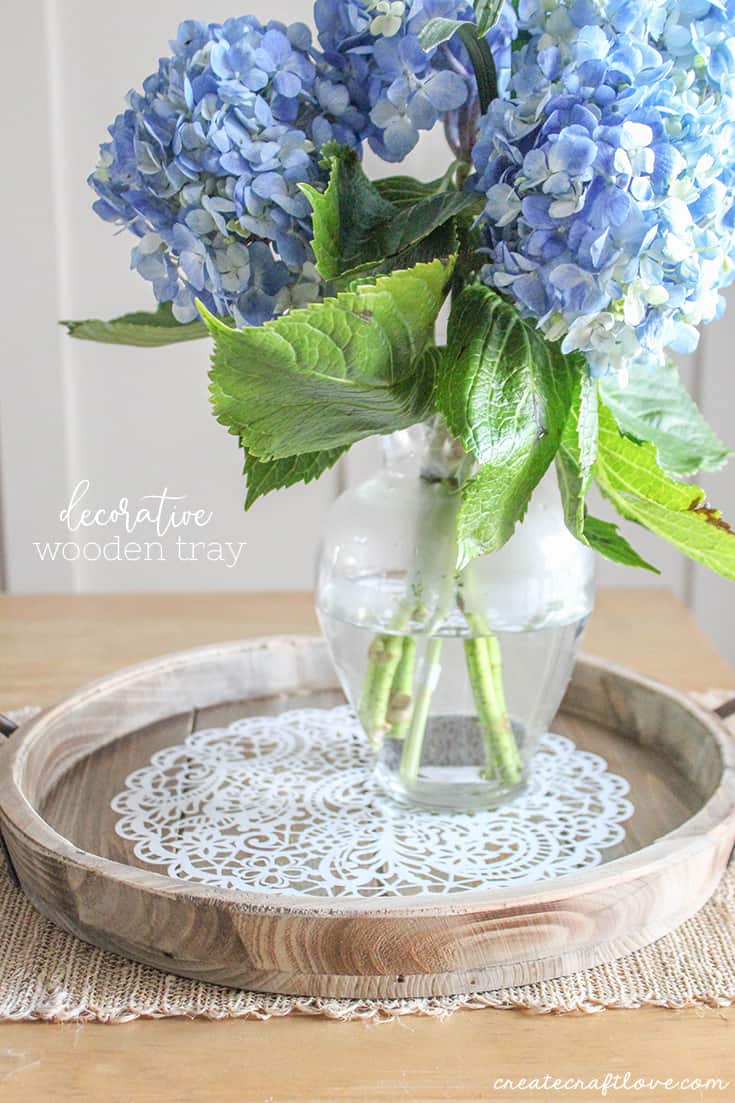
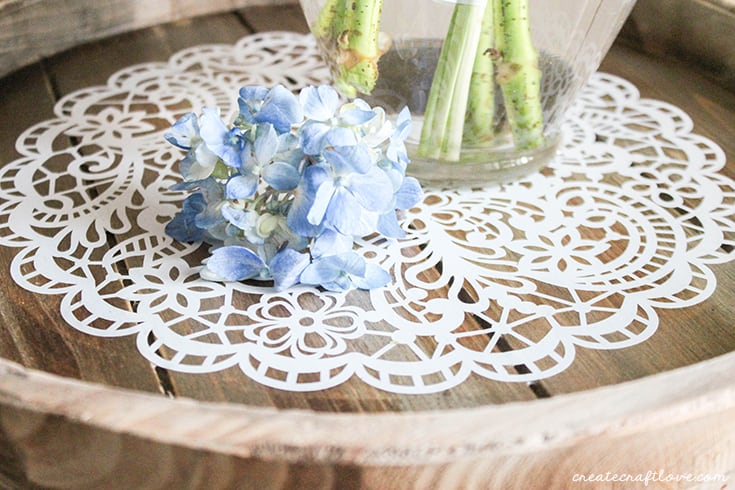
I am in LOVE with how this decorative wooden tray turned out! I have it sitting in the middle of my breakfast nook table with a fresh bouquet of hydrangeas. It is the perfect compliment to my farmhouse decor!
I’d love for you to pin this image!