This post may contain affiliate links. See my disclosure policy for more details.
Are you ready to get your quilt on? {If you missed the supply post of the series, you can catch it here!} Last year when I participated in the Mommy By Day Crafter By Night quilt along, I never dreamed I would be leading my own less than a year later. Let’s just start with my disclaimer: I am not a quilting expert! I am a novice. However, this is my third quilt so I do know a few things. We are going to take this a step at a time. So just breathe…Today we will work on cutting the fabric for your quilt.
First, you want to iron all of the pieces from your fat quarter pack. {Trust me – this will make it way easier to cut properly.}

Once you have ironed all of your fabric, pull out your self healing cutting mat, acrylic ruler and rotary cutter.
Before we cut the “real” fabric, grab some scrap fabric from your fabric stash. We are going to practice using the rotary cutter. I am having you practice first so you don’t make the same mistake I did last year and have to purchase extra fabric. Here’s what you need to remember when using the rotary cutter.
- Place your scrap fabric on the cutting mat. You will be using the acrylic ruler as a guide.
- Hold your rotary cutter at a 45 degree angle. This is important. Do NOT try to do this at a 90 degree angle. You will lose control of the cutter and not cut a straight line.
- I like to hold my cutter with my pointer finger on the curved, bumpy part for better control.
- Don’t cut too fast, you will lose control.
- Make sure to apply pressure to the acrylic ruler to hold the fabric in place as you cut.
- Practice this over and over until you get the feel for it. It will save you lots of heartache later.

OK – feeling good about the rotary cutter? Let’s start cutting the fabric! To create the blocks in the middle, you need to cut 88 pieces of fabric measuring 4.5 inches by 7.5 inches. {You will be able to cut eight blocks out of each fat quarter. My fat quarter pack came with 12 pieces of fabric – I only cut 11 of them.}
Take a fat quarter, lay it out horizontally and square it up with the edges/lines on your cutting mat.

Cut four 4.5 inch strips.

Once you have your four strips, lay them on top of each other and place horizontally on the cutting mat. I cut and measure from left to right. So I always lay my fabric out with the selvage to the right. Does that make sense? Selvage is the self finished edge of the fabric to keep it from fraying. {See picture below.}

Line up the top edge of the stack with a line. Measure out 7.5 inches and cut through the stack. {Most rotary cutters will cut through 12 layers of fabric.} You will get two 7.5 inch sections {through 4 layers of fabric = 8 blocks} out of this. There will be about 6 inches extra.

Repeat this process for all 11 pieces fat quarters. Once this step is completed, set the blocks aside.

Next, you will begin cutting the smaller rectangles. For this you need 72 pieces measuring 1.5 inches by 4.5 inches. To do this, I cut 8 strips measuring 4.5 inches in width. Then I stacked all 8 pieces on top of each other and cut ten 1.5 inch sections.

Once you’ve finished the blocks, you will work on cutting your sashing, borders, binding and backing. For this particular quilt you need…
Borders – Cut (2) 6.25 inch by 87 inch pieces for the long edges. Cut (2) 6.25 inch by 67 inch pieces for the short edges. Set aside.
Sashes – Cut (11) 4 inch by 55.5 inch pieces. Set aside.
Backing – Cut your fabric exactly in half. Set aside.
Binding – Cut (9) 2.5 inches by 42 inch strips. Set aside.
And that’s it! The fabric is all cut! At this point you can stop or work ahead for next week.
For the overachievers:
If you choose to work ahead, you can prep for piecing the quilt together. Begin laying out your rows. Start with the large rectangles. Each row will contain 7 large rectangles separated by 6 small rectangles. There will be 12 rows separated by a sash. {You will only use 84 out of the 88 large rectangles.} It will look like this.
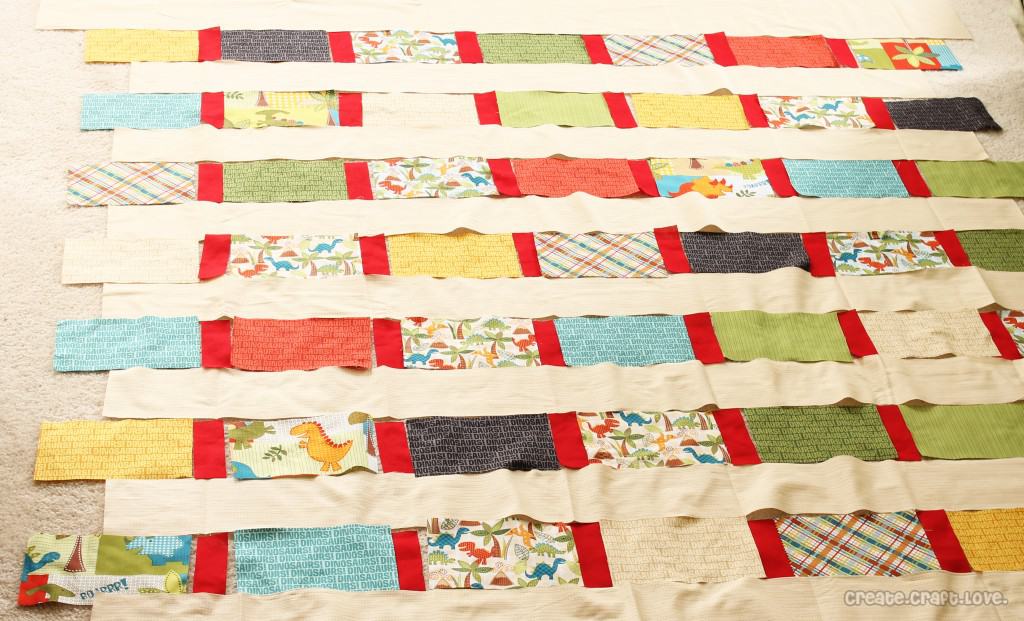
Of course, that’s not the whole quilt. I didn’t have enough room to take the picture. LOL But you get the general idea. Lay out the entire quilt top. Move pieces around until you like how it looks. This took me about an hour because I’m picky. Don’t worry that the laid out rectangle rows are longer than the sash rows. Remember, once the rectangles are sewn together, they will be the same length as the sashes. This just gives you a general idea of how it will look.
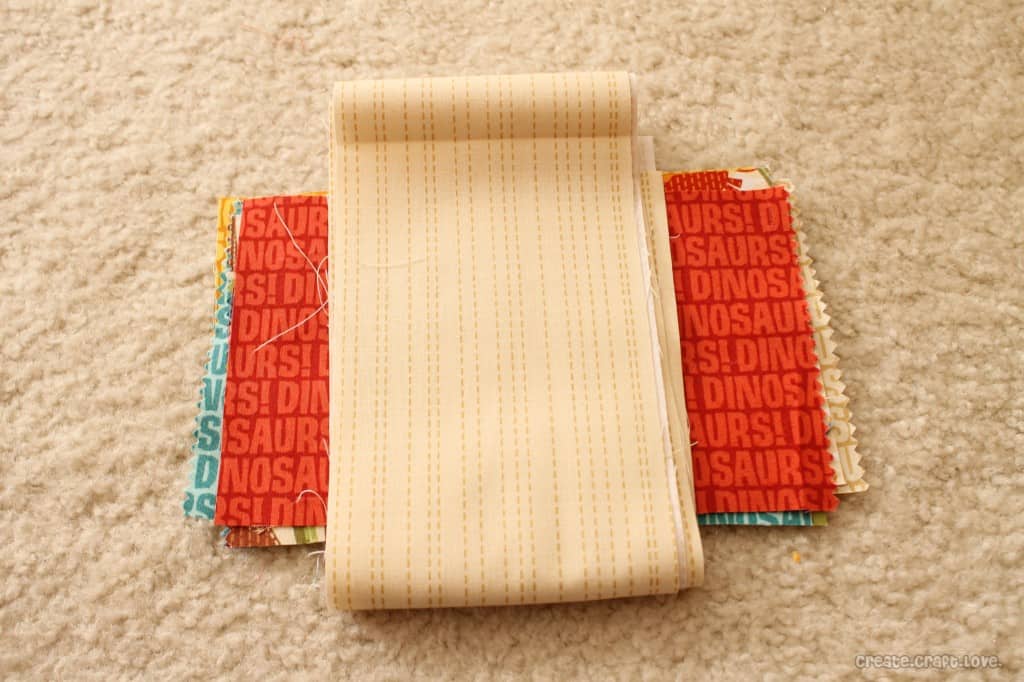
Once you have it laid out how you want it, begin picking up the pieces – keeping them in order! I begin at the bottom right hand side {if you are looking at it} of the quilt. Place the first large rectangle on the bottom and then keep moving to the left and stacking the rectangles in order {right to left}. Next, fold the sash and lay it the opposite direction.
Keep moving up the quilt, collecting rectangles from each row {right to left} until all of the quilt is picked up.
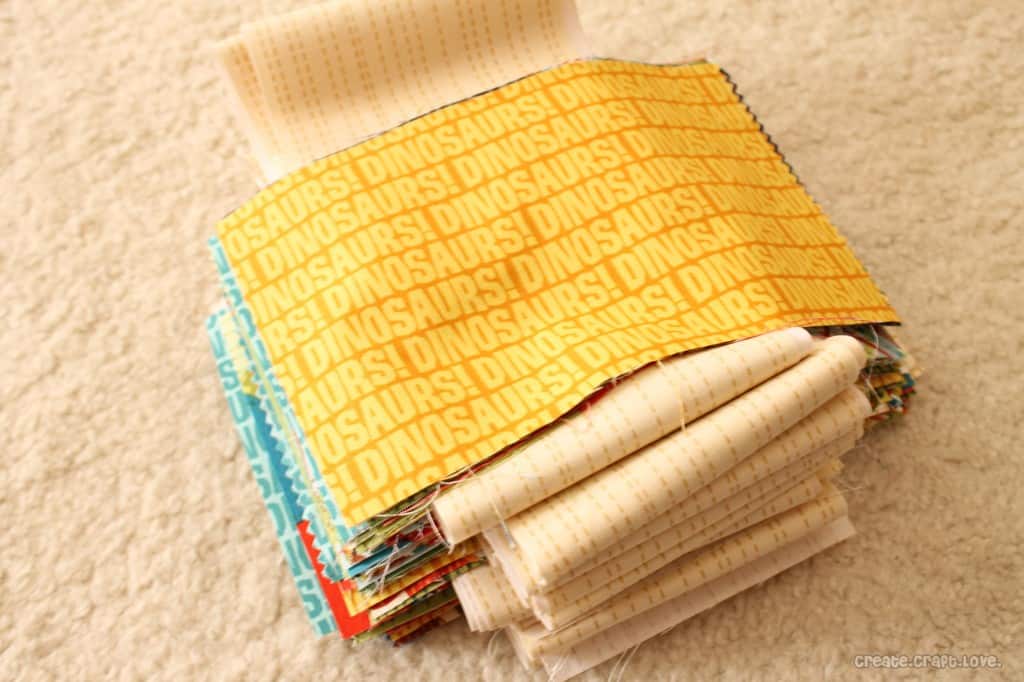
I like to place that bundle in a gallon size freezer bag to keep it separated and in order. Then I gathered the borders and small rectangles and placed in another bag.
Great job! Now you are all set for next week when we will begin piecing the quilt!
If you have any questions, don’t hesitate to email me at [email protected] or ask in the Quilt Along Facebook group!


[…] So, stay tuned! I’ll be sharing the process of cutting the fabric in my next Quilt Along post. Sounds easy enough, right? Anyone can cut fabric {hopefully}! To see how Jill of Create.Craft.Love suggests to cut each piece, visit her explanation found here. […]