This post may contain affiliate links. See my disclosure policy for more details.
We are in the home stretch, quilters! How did it go quilting your quilt last week? I hope it wasn’t too difficult. Now we get to start my favorite part – binding the quilt! I think binding the quilt is so much fun because you see it come together! You can do this by hand or with a sewing machine. I’m too lazy to do this by hand. I will show you binding the quilt with the machine method.
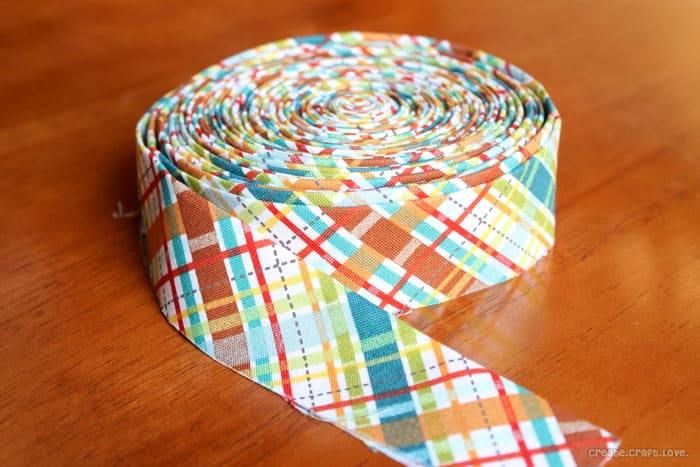
Begin by grabbing your binding strips to create your binding. You are going to sew them end to end to make one nice long strip measuring. Press open the seams. Then you are going to sew the binding strip in half, lengthwise. Once ironed, roll it up so it’s more manageable.
Trim the extra batting and backing from the quilt. Don’t overcompensate to make it perfectly square. You will ruin the quilt.
Flip the quilt over so it is facing down.
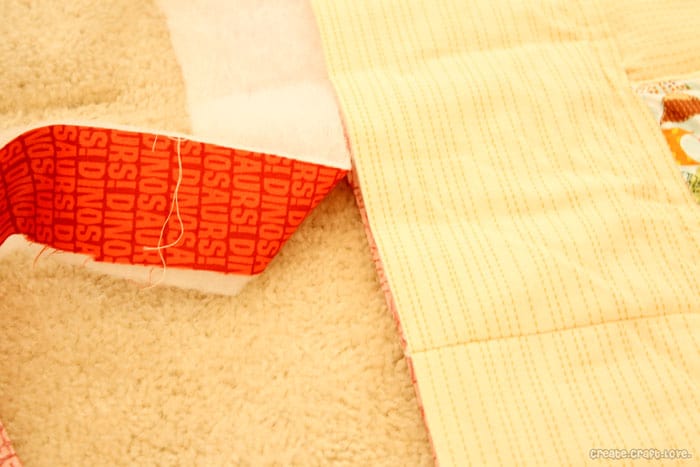
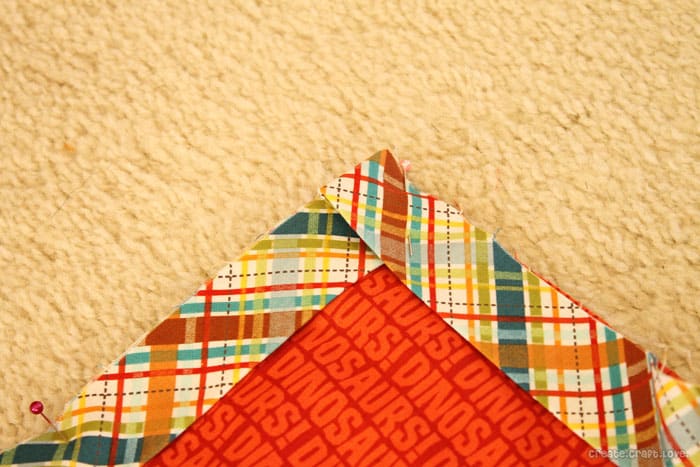
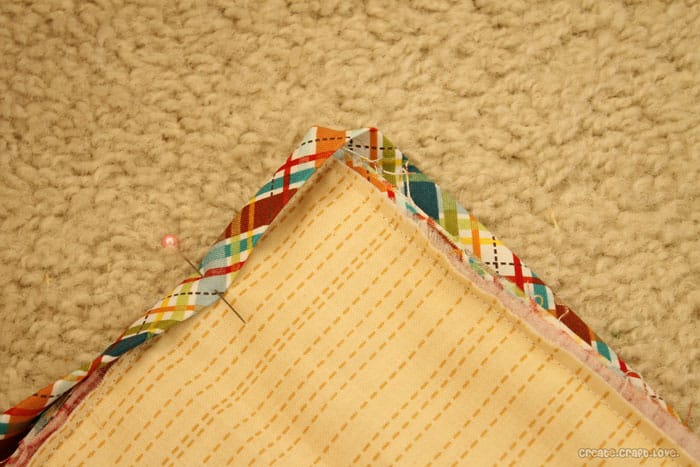
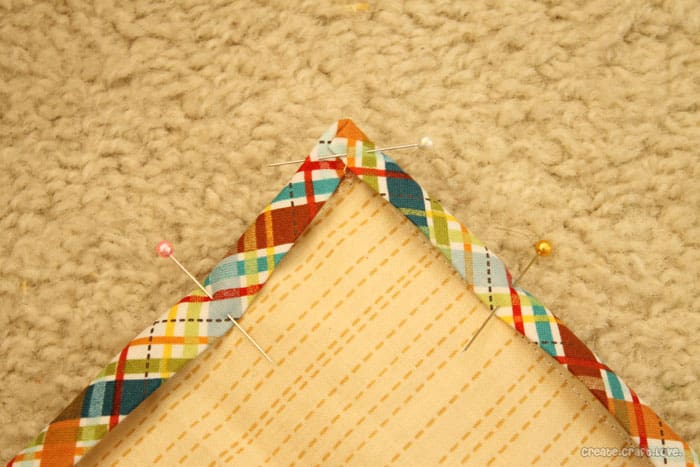
Start pinning the binding to the back of the quilt. The unfinished side of the bias tape should be meeting up with the unfinished edge of the quilt back. When you get to a corner, pin the bias tape at a 45 degree angle. Then fold the fabric to continue pinning along the next side of the quilt. Place another pin at a 45 degree angle to keep in place.
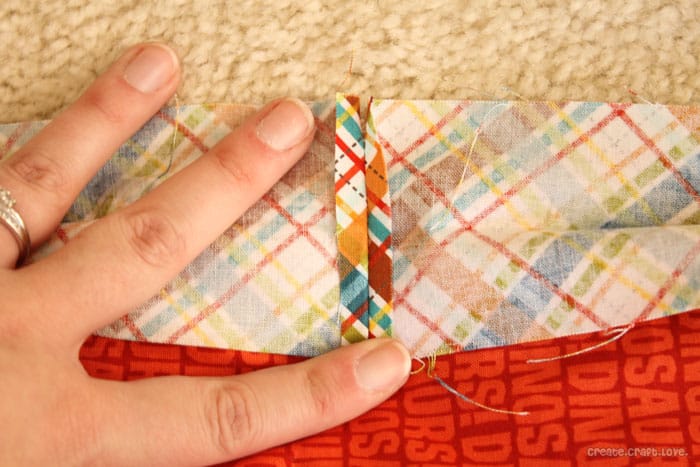
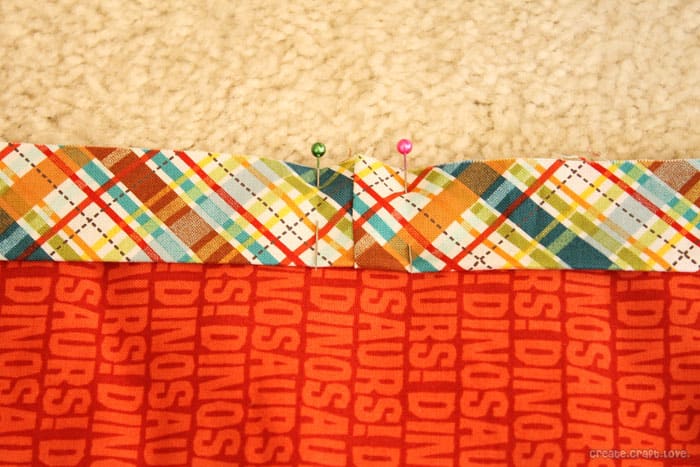
Continue pinning all the way around the quilt. When you reach the point where you started, open the binding and pin the edges together. Sew the two ends together. Trim off the extra fabric and pin in place.
Start sewing the binding to the back of the quilt. I used a 1/4 inch seam allowance like I have on the rest of the quilt. When you get to a corner, lift up the needle and foot, carefully turn the quilt, flip the corner over. Put the foot down and continue sewing. Repeat this step at each of the corners.
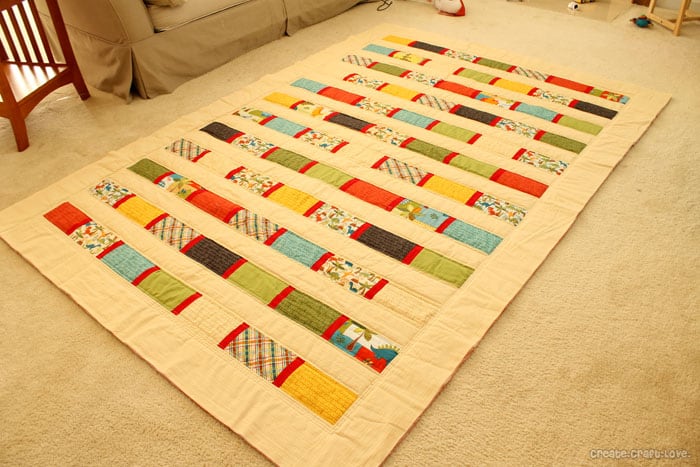
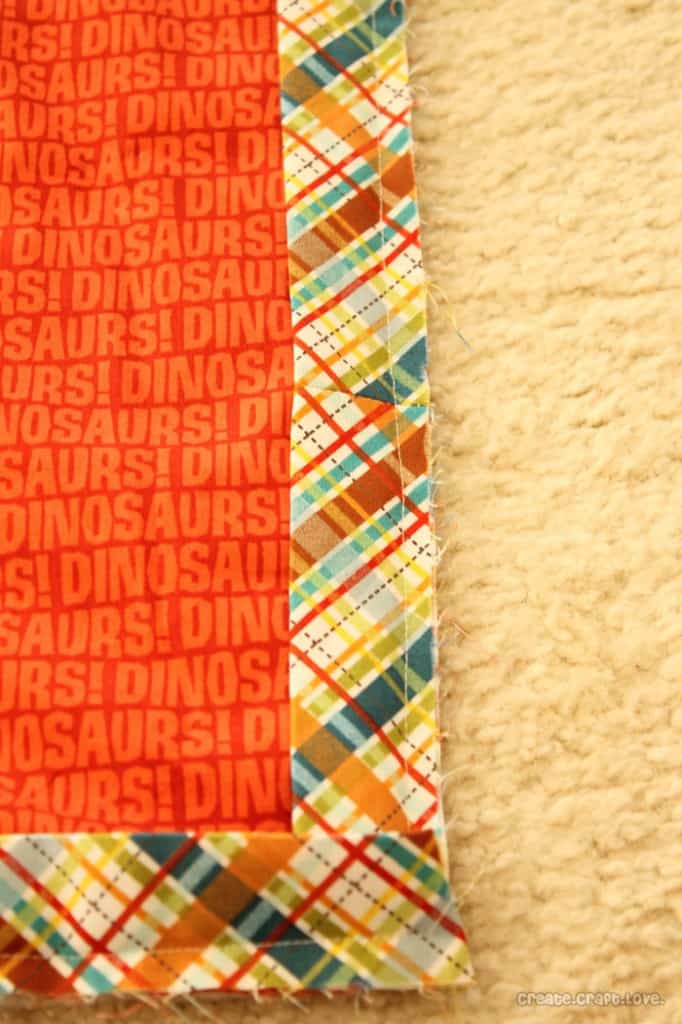
When the bias is sewn in place, it will look like this.
Now we are going to “bind” it!
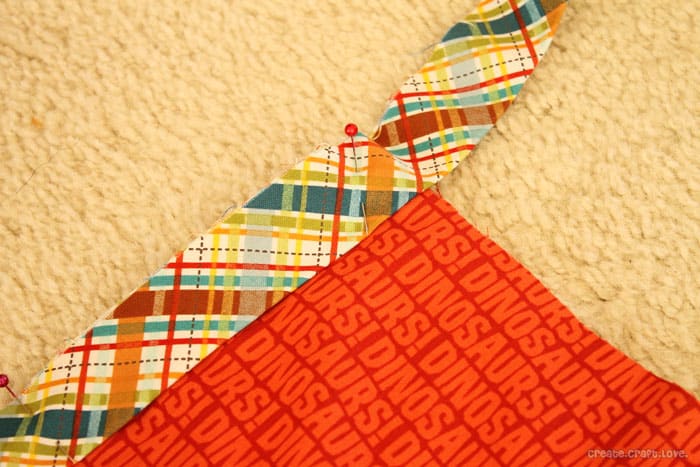
Turn the quilt over, right side up. Fold the binding over to the front and pin in place around all of the edges of the quilt.
When you get to the corner, you will fold it like this.
Sew all the way around the quilt, keeping it as close to the edge of the binding as possible.
NOW IT’S FINISHED!
I can’t wait to see what you all have come up with! Next week I will reveal my entire quilt and the Quilt Along link party will go live!
