• Home
  • Crafts
    • Wreaths
    • Back to School Crafts
    • Christmas Crafts
    • Father’s Day Crafts
    • Fourth of July Crafts
    • Halloween Crafts
    • Kid’s Projects
    • Mother’s Day Crafts
    • Thanksgiving Crafts
    • Valentine’s Day Crafts
  • Recipes
    • Christmas Recipes
    • Fourth of July Recipes
    • Halloween Recipes
    • Thanksgiving Recipes
    • Appetizers
    • Beverages
    • Breakfast
    • Dessert
    • Main Dish
    • Side Dish
    • Soups & Salads
    • Snacks
  • Freebies
    • Back to School Printables
    • Christmas Printables
    • Father’s Day Printables
    • Fourth of July Printables
    • Halloween Printables
    • Mother’s Day Printables
    • Thanksgiving Printables
    • Valentine’s Day Printables
  • xTool
  • About
    • About CCL
    • Privacy Policy
    • Disclosure
    • Contact Us
    • Email
    • Facebook
    • Instagram
    • Pinterest
    • RSS
    • Twitter

Create Craft Love

May 5, 2015 ·

Raised Garden Bed

DIY

  • Facebook
  • Twitter

This post may contain affiliate links. See my disclosure policy for more details.

In southwest Missouri, we do not have dirt.  We have rock.  Lots of rock.  You can dig down 6 inches and hit bedrock.  This is not conducive to gardening.  We have been trying to eat more healthy and organic and so I challenged my husband to design a garden where I can go out back and pick my salad for dinner.  He researched and labored over the plans for two months.  (I’m not even kidding.  He loves to research.)  The Raised Garden Bed design he created is so easy to put together and I can’t wait to harvest some fresh veggies!
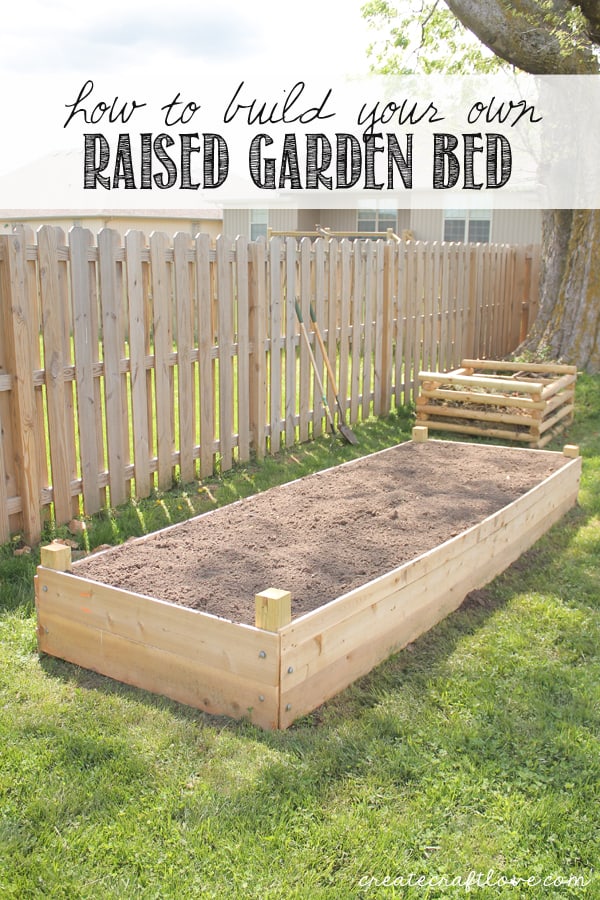
How to build your own Raised Garden Bed at createcraftlove.com!

Lumber needed:

 (1) 4 inch x 4 inch x 8 foot for corner posts

 (4) 1 inch x 8 inch x 12 foot cedar boards (sides)

(2) 1 inch x 8 inch x 8 foot cedar boards (ends)

Hardware needed:

 (16) 3/8-in-16 x 6 in Hex Bolts

(16) 3/8-in-16 Hex Nuts

 (32) 3/8 in. x 7/8 in. washers

Kyle adapted these plans from the University of Missouri Extension Lawn and Garden.

Most state universities have something along these lines.  You should consult your own state’s lawn and garden recommendations since climate and geology play a large role in optimal growing conditions.
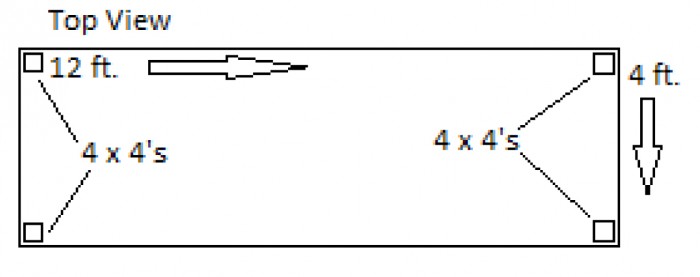
top view Garden Plans

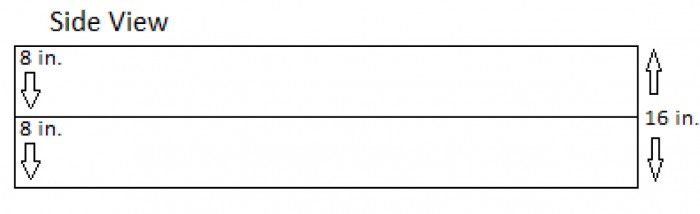
side view Garden Plans

** We had to improvise on the sides because they did not have any 1x8x12’s left in stock.  We substituted (2) 1x6x12’s and (1) 1x4x12.

Cut each 1 inch x 8 inch x 8 foot cedar boards in half.  These are your end pieces.

Cut your 4 inch x 4 inch x 8 foot into two feet sections for a total of four.  These are your corner posts.

Measure out the space.
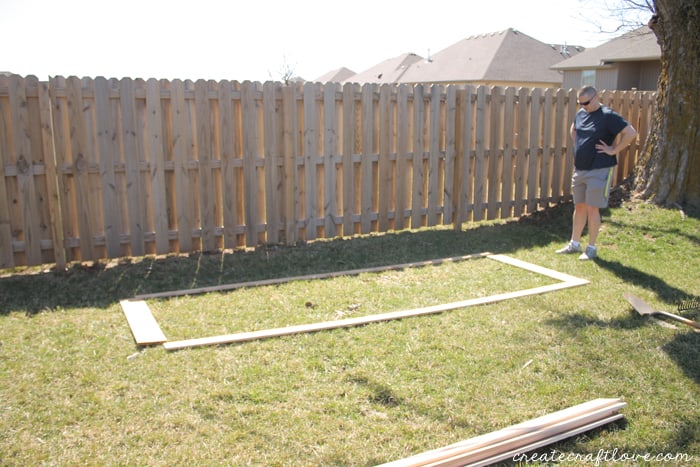
raised garden

Once we had a general idea of where we wanted the garden placed, we dug the holes for the corner posts.
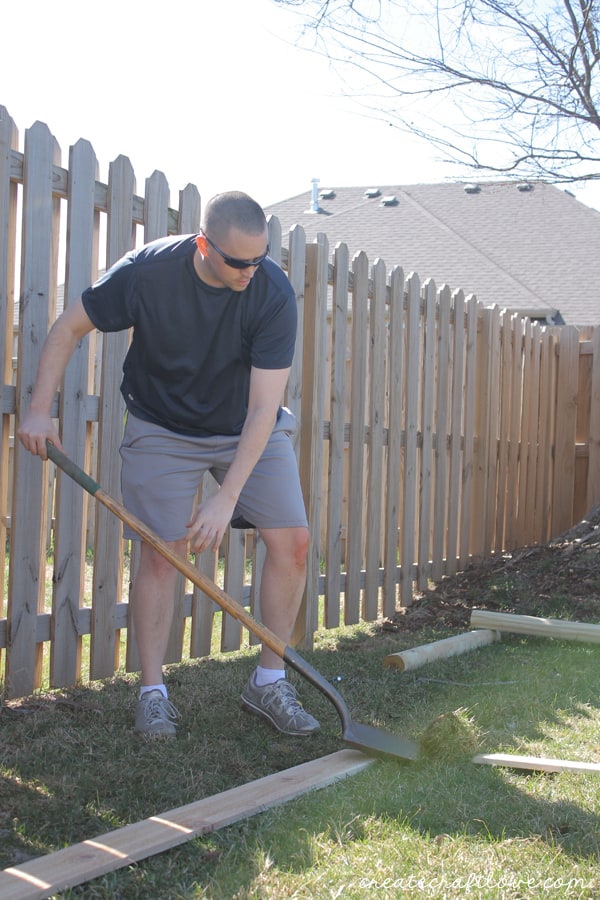
raised garden 1

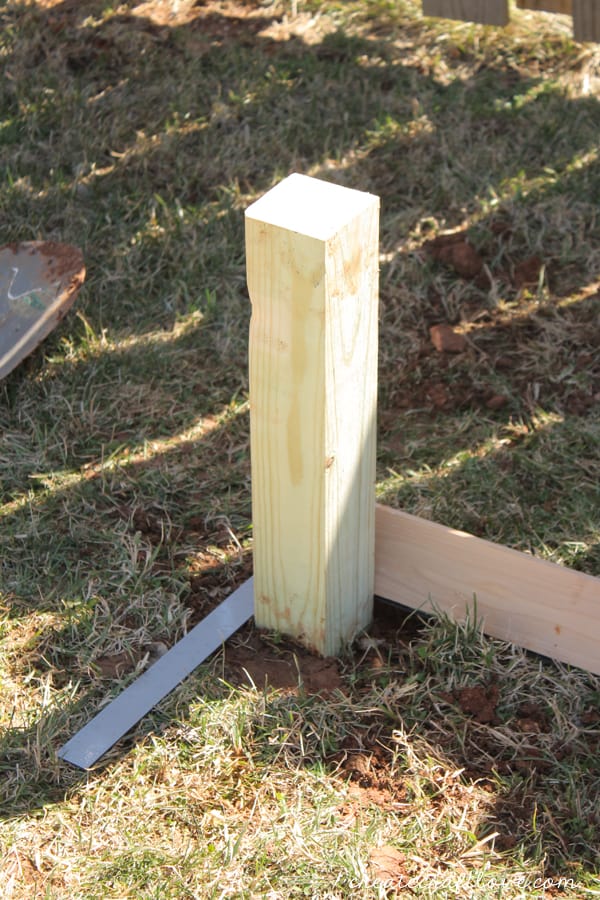
Each post was sunk into the ground eight inches deep.  We filled the hole back in with the dirt, squared and leveled it.
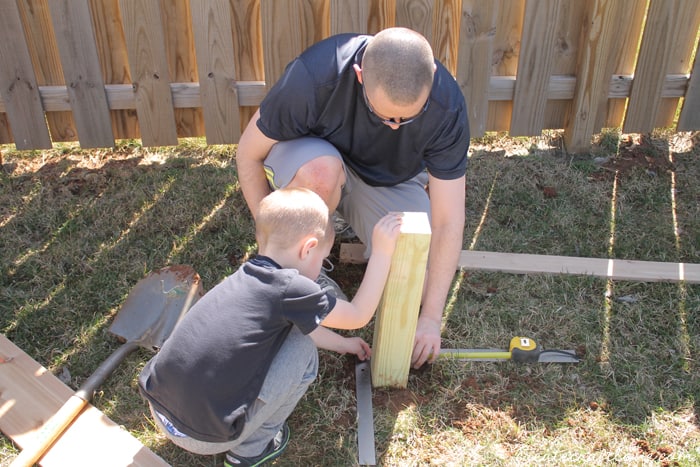
raised garden 2

 raised garden 3

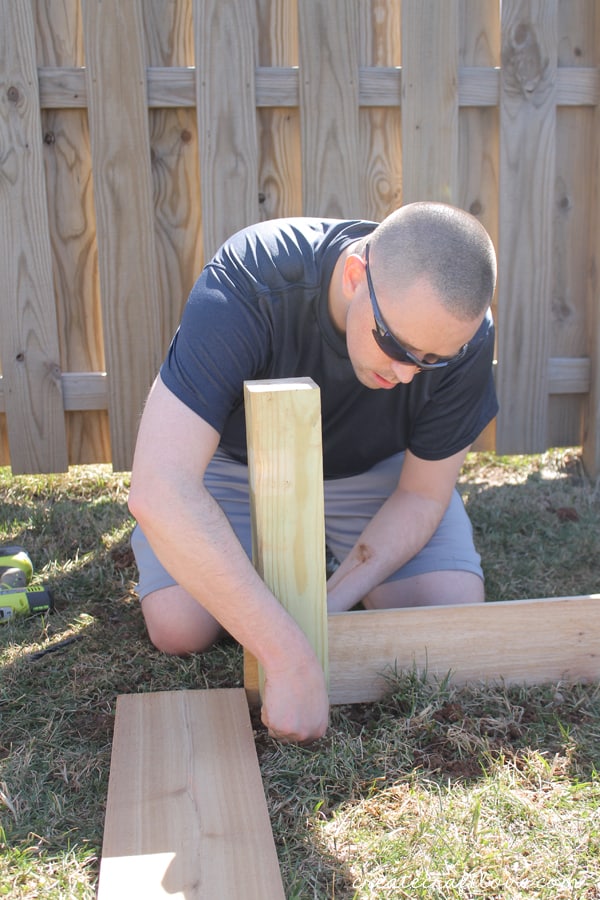
To attach the cedar boards, we drilled a hole through the cedar and corner post.
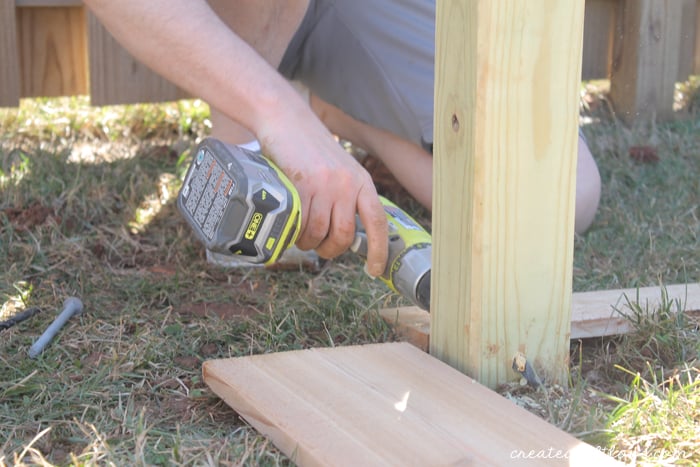
raised garden 5

Place a washer on the outside and thread the bolt through the washer, cedar board and corner post.  Once bolt in through, place another washer and secure on the inside with the nut.
raised garden 6

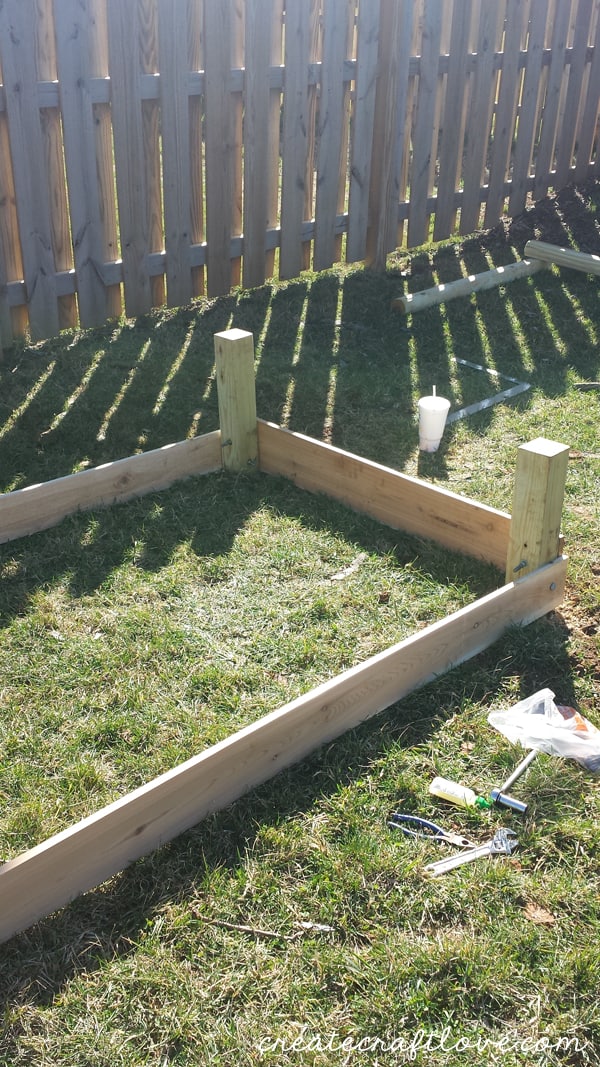
 Continue this process for attaching each corner post.
raised garden 7

It was that easy to put together!  The overall process did take about 6 hours.

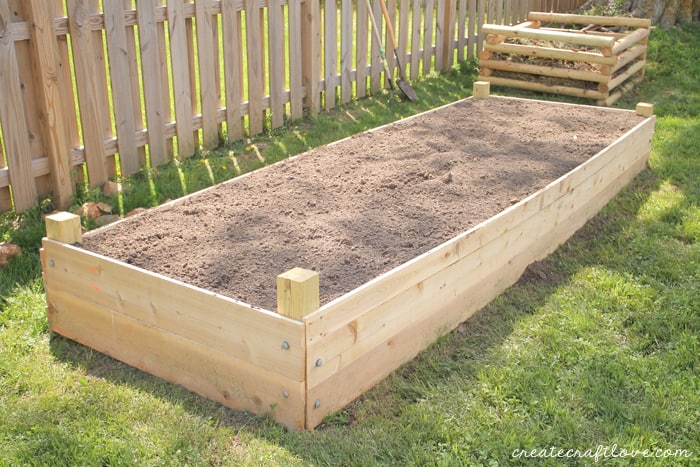
We purchased compost top soil from a local nursery.  You will need approximately 2.37 cubic yards of soil to fill a garden of this size.
raised garden horizontal

I can’t wait to harvest our veggies!  We planted tomatoes, green beans, cucumbers, bell peppers, anaheim peppers, okra, onions, dill, thyme, oregano, and cilantro.

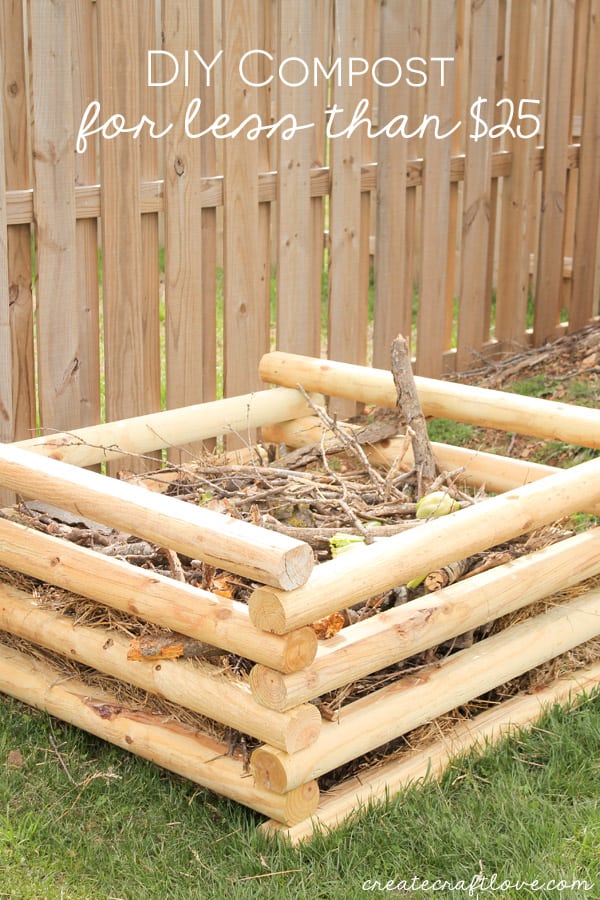
If you’re looking for more gardening ideas, check out our DIY Compost!
Create a lovely memorial to your mother on your wedding day with these Monogrammed Handkerchiefs made from HER wedding dress! via createcraftlove.com

And here are some tips and ideas to make your garden grow!
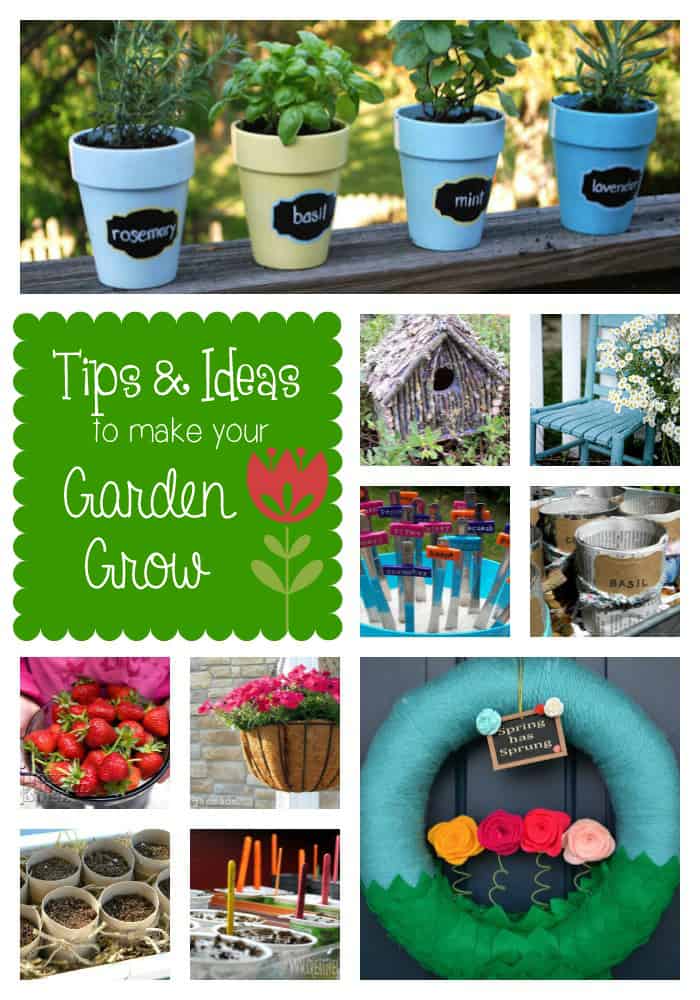
pinnablepic


About Us

We are passionate about sharing simple, fun DIY projects that anyone can tackle—whether you're a seasoned crafter or just getting started. From seasonal décor to everyday crafts, we love inspiring others to make something beautiful with their own two hands.

« Summer Boredom Busters to Keep the Kids Occupied
Fresh Strawberries & Cream Muffins »

Popular Posts

Winter Decorations for After Christmas
This Gold Leaf Mason Jar Vase is keeping with the trends this spring! #spring #gold #goldleaf #masonjars

HALLOWEEN

This DIY Fang Necklace is a fun kid's craft for Halloween! via createcraftlove.com

THANKSGIVING

I thought it would be fun to tie in the garland and made these pretty Paper Leaf Napkin Rings! via createcraftlove.com
Make your own Homemade Pumpkin Puree for all of your pumpkin baking needs! via createcraftlove.com

CHRISTMAS

Winter Wreath Workshop Round Up at createcraftlove.com
More Pool Noodle Hacks: Christmas Edition! via createcraftlove.com
This Reindeer Noses Printable makes a perfect stocking stuffer or classroom party favor! via createcraftlove.com
© 2019 · Create Craft Love·
  • Pinterest
  • Facebook
  • Twitter