This post may contain affiliate links. See my disclosure policy for more details.
Spruce up your pumpkins with our Simple and Classy Pumpkin Update!
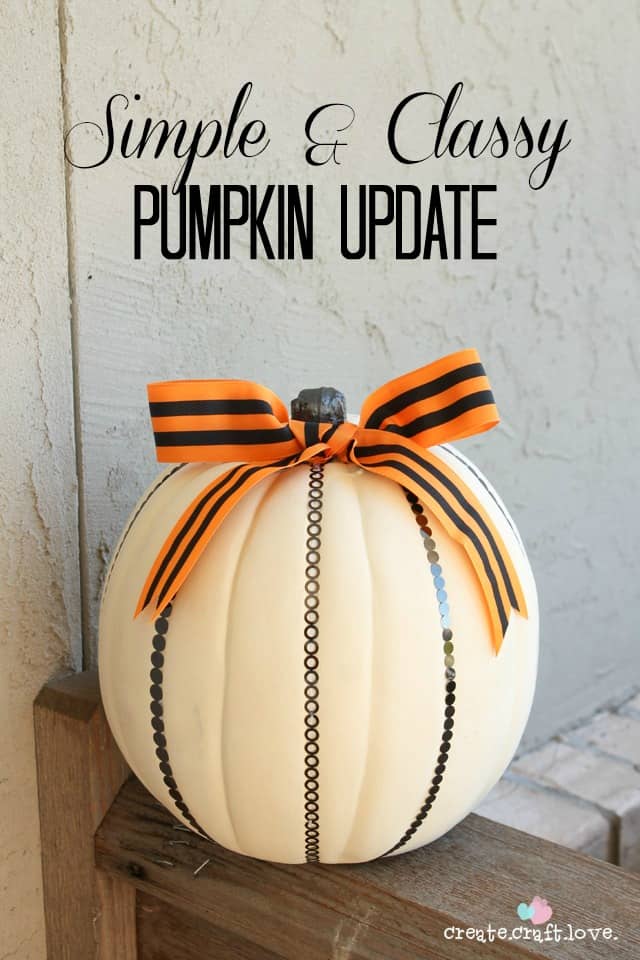
As I was pulling out the rest of my Halloween decorations, I came across the white pumpkins I used on my Raven Inspired Front Porch. Seriously, I have pumpkins coming out of my ears!! I decided they needed an update. Nothing flashy, just a Simple and Classy Pumpkin Update!
This post contains affiliate links for your convenience.
Materials needed to create your own Simple and Classy Pumpkin Update
White pumpkin {real or fake}
Paint and paintbrush
Martha Stewart Metallic Trim
Hot glue gun
Scissors
Embellishment of your choosing! {I picked some striped orange and black ribbon but you do you.}
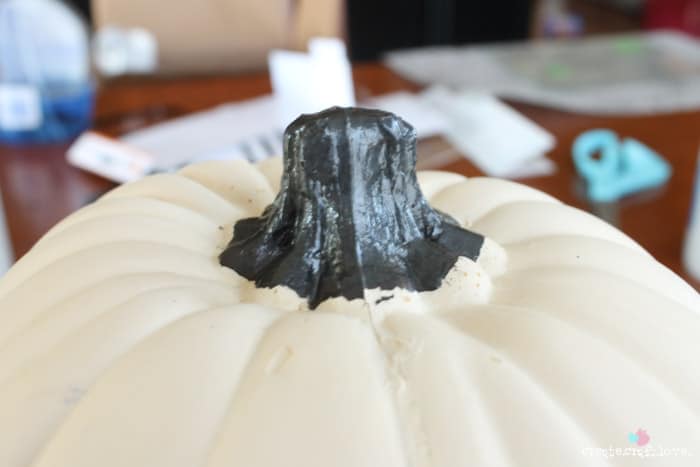
I started by repainting the pumpkin stem. It got a little battered and bruised last Halloween and definitely needed a little tender loving care.
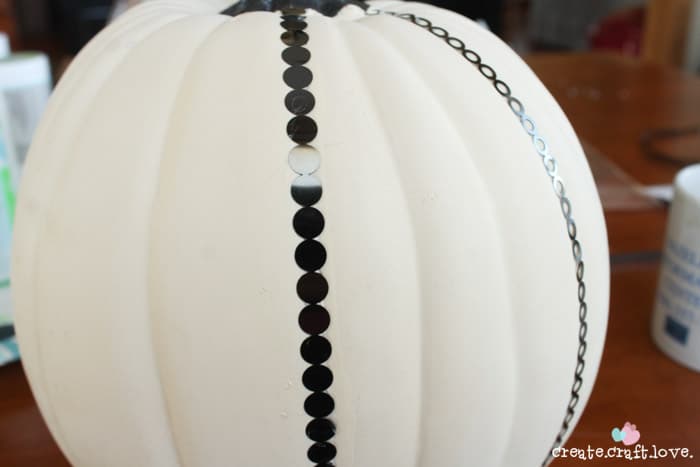
Then, armed with my hot glue gun and a pair of scissors, I got to work. To create this look, I used the new Martha Stewart Metallic Trim. Simply hot glue a crease on your pumpkin and begin adhering the trim. Continue this process all the way around the pumpkin. Try your best to keep it even. I did not use the trim in all of the pumpkin creases because it seemed too much.
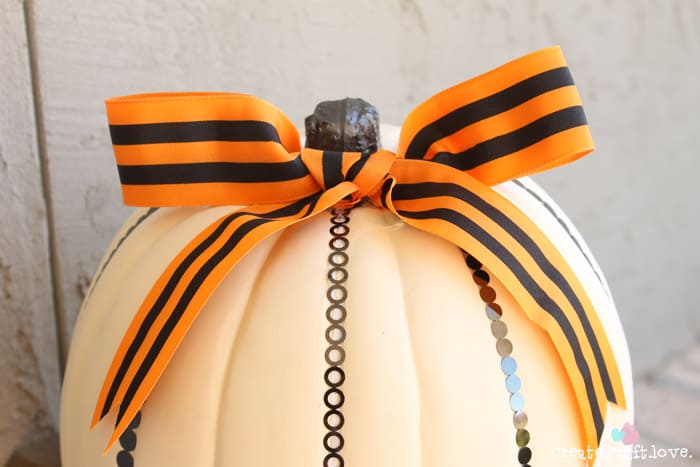
Finally I add this cute black and orange bow!
How simple is that? The great part? You can easily remove the trim next year and make a whole new look! I love being able to recycle things! And since I’m all about the sparkly this year, this metallic trim totally works! It adds a nice touch.

Do you hoard foam pumpkins like I do or do you use fresh pumpkins each year? What fun ways do you decorate pumpkins?
Share your ideas in our Facebook group! I’d love to see what you are working on!

[…] Simple & Classy Pumpkin Update @ Create. Craft. Love. […]