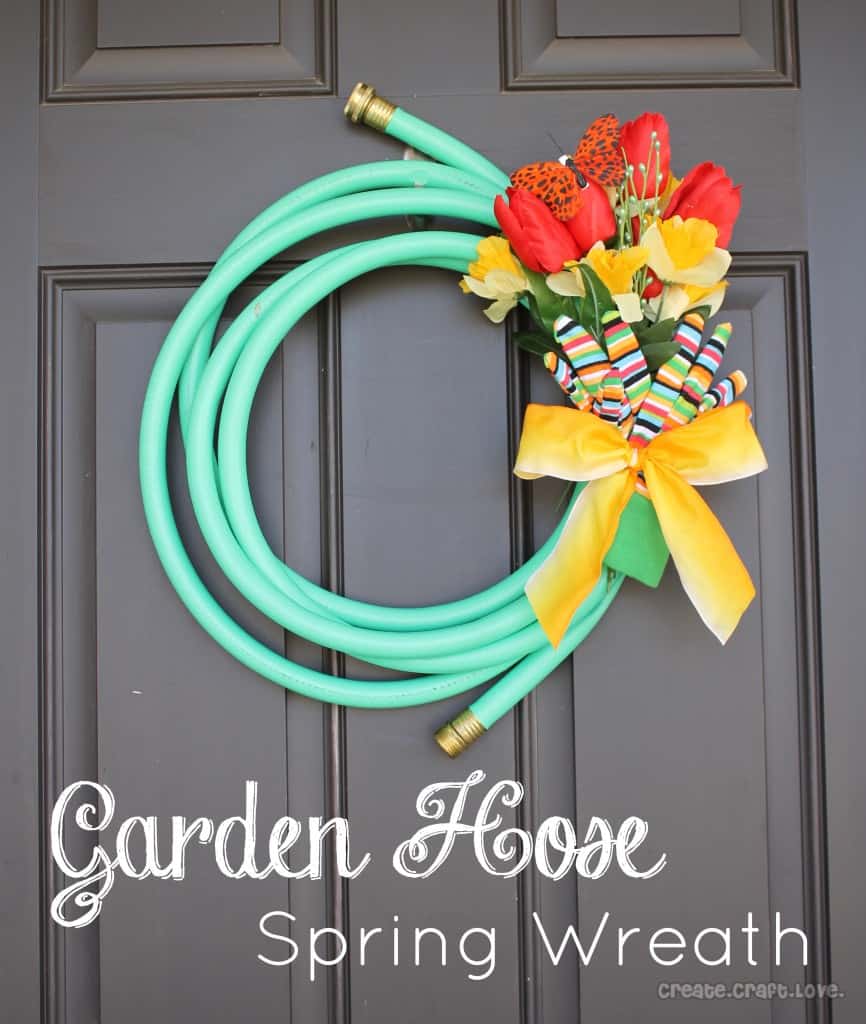
To say I’m obsessed with wreaths is an understatement. It borders on addiction. I love to think outside the box to create amazing front entry decor as a welcome for my guests! I’m not sure if anything can top my Garden Hose Wreath but my new spring wreath comes awfully close. Create your own Metal Flower Bicycle Wheel Wreath with a little help from the Cricut Explore!
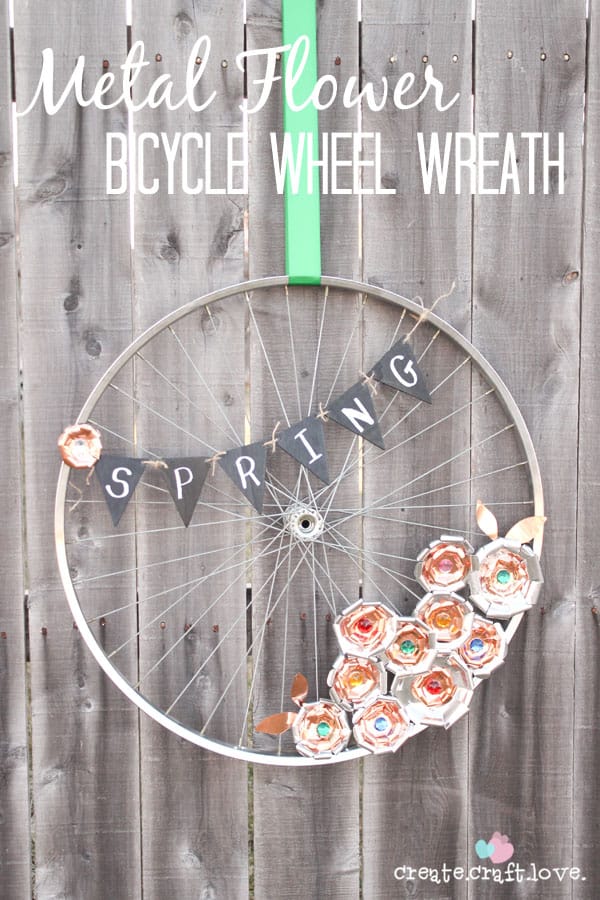
That’s right, ladies and gentleman – I cut those metal flowers out on my brand new Cricut Explore! I could hardly believe it myself! When it worked, I was giddy with excitement. Wanna see for yourself?
Amazing, right?!
I’ll show you how to quickly whip up those Metal Flowers!
……………………………………………………………
Materials:
Aluminum craft metal
Copper craft metal
Cricut Explore with cutting mat
Image #M431CB from Creative Memories – Stork’s Delivery
Scissors
Pencil
E6000 glue
Large rhinestones
Alligator clips
…………………………………………………………
The new Cricut Design Space is so much easier to work with than Craft Room! Here’s a quick run-through of how to work the software while creating your flower.
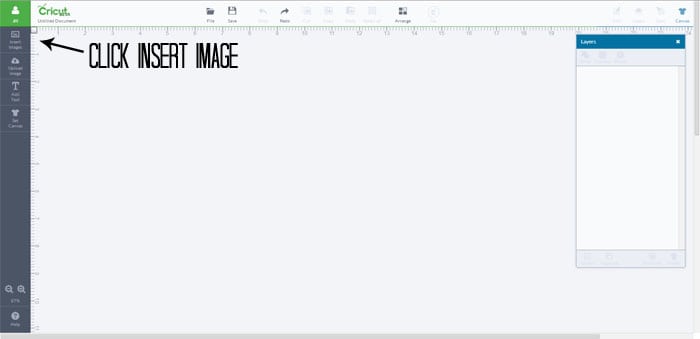
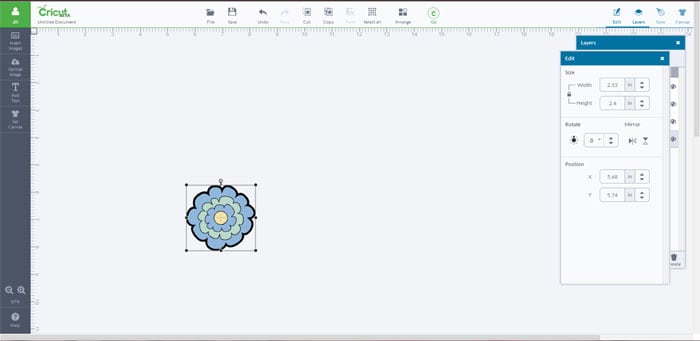
When you start a new project, this is the blank canvas that you will see. Click “Insert Image” in the upper left hand corner.
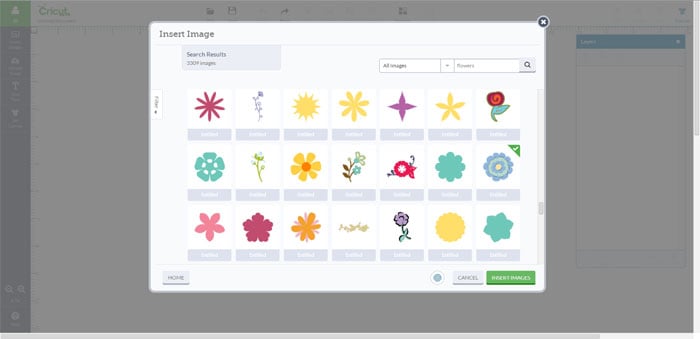
This will bring up the image library. There is a search bar in the upper right hand corner of this box. Type “flowers” or the image number. When you select an image a green check mark will appear in the upper right hand corner of the image. Click “Select Image” button at the bottom to insert the image onto your canvas.
The image will appear on the canvas with a box on the right hand side showing you all of the layers. To edit these layers individually, highlight the image and click “Ungroup”.

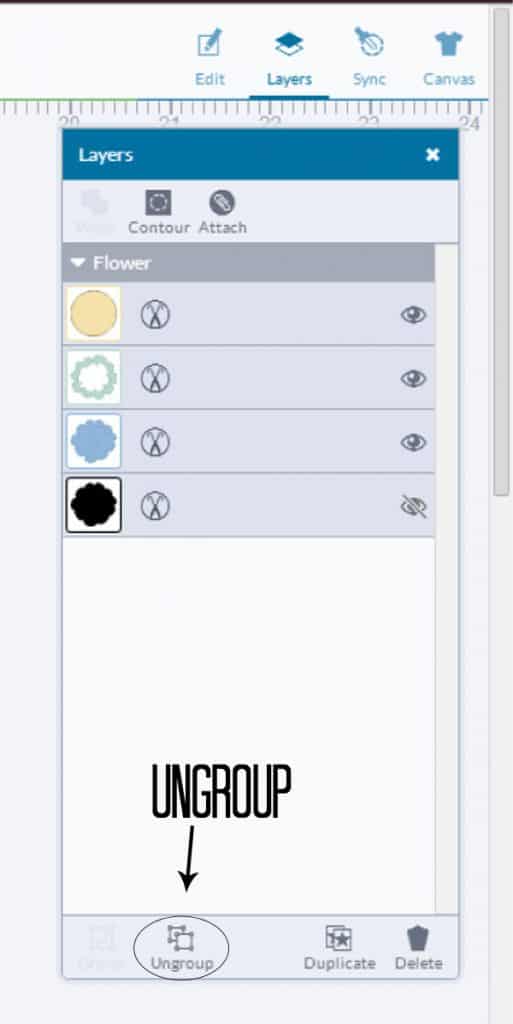
The eyeballs to the right of each layer allow you to see it on the canvas. You can also delete individual layers once ungrouped. I removed everything but the black layer.
By clicking “Edit” on the toolbar above the layer box, you can change image size, orientation, and position.
Once your image is sized and positioned appropriately, click the “Go” button on the toolbar. This will bring up the cut preview window.
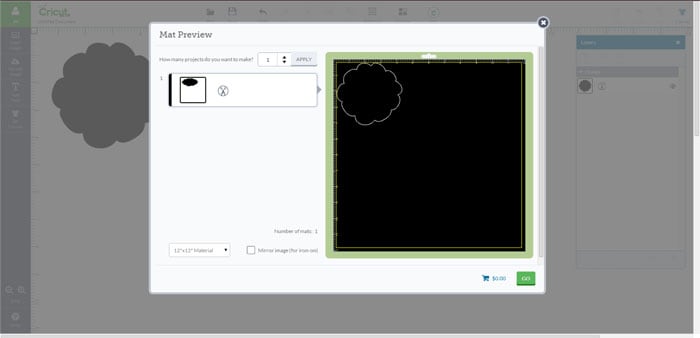
The preview window will show you how many mats you need to complete the project. Once you are satisfied with the preview, click the “Go” button in the lower right hand corner.
This will display the cut window. The cut window walks you through how to set up the machine for the material you are working with. Simply, load the mat, set the dial for the material, and Go!

Assembling your Metal Flowers
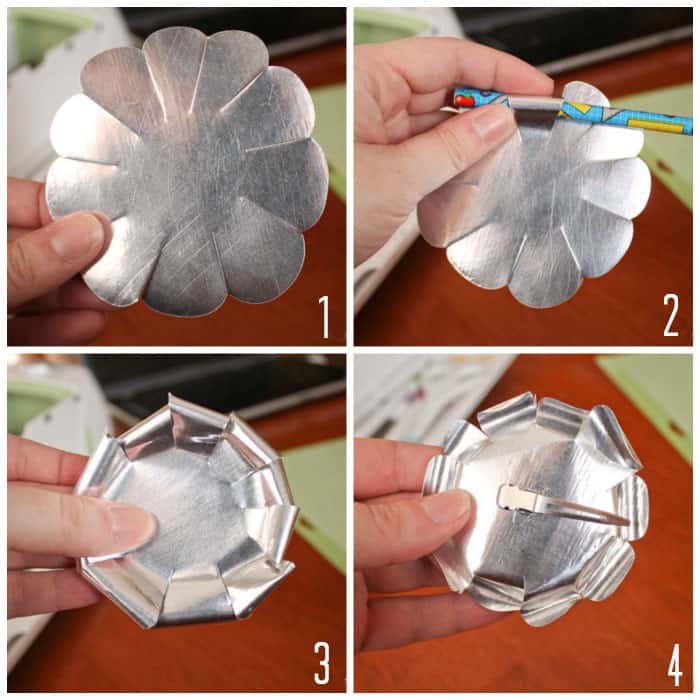
My aluminum flowers are about 5 inches in diameter. The copper flowers are 3 inches in diameter.
1. When you remove the metal from the mat, it will wrinkle. Use your scraper tool to smooth out the flower. Next, cut small one inch marks along each petal.
2 & 3. Curl the petals around a pencil to give your flower some dimension.
4. Turn flower over and glue alligator clip to back.
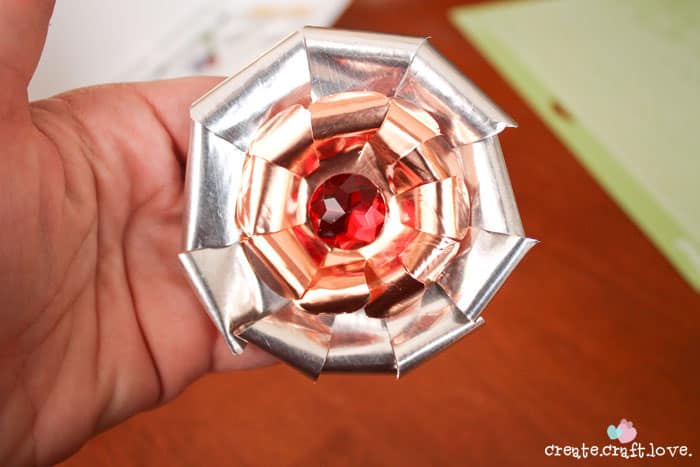
After the glue has dried, turn back over and glue one of the smaller copper flowers with rhinestone into the center of the aluminum flower.
The alligator clips on the back made it so much easier to attach them to the bicycle wheel spokes.
I made about 10-12 flowers and clustered them together in one section. Then I added a cute chalkboard pennant banner catty corner to it. Add some ribbon to hang it up!

I LOVE how it turned out! I wish I had a garden to hang it in because I think that would be perfect!

I’m diggin’ the two tone look with the aluminum and copper!

Remember when working with metal to wear gloves and be careful of sharp edges!
Isn’t the new Cricut Explore amazing?!
What else can I make out of that sheet metal?
If you are looking for other unusual wreaths, I’ve got em!
Check out my Garden Hose Wreath!
Click HERE to see the rest of my wreaths!

[…] Metal Flower Bicycle Wheel Wreath from Create.Craft.Love. […]