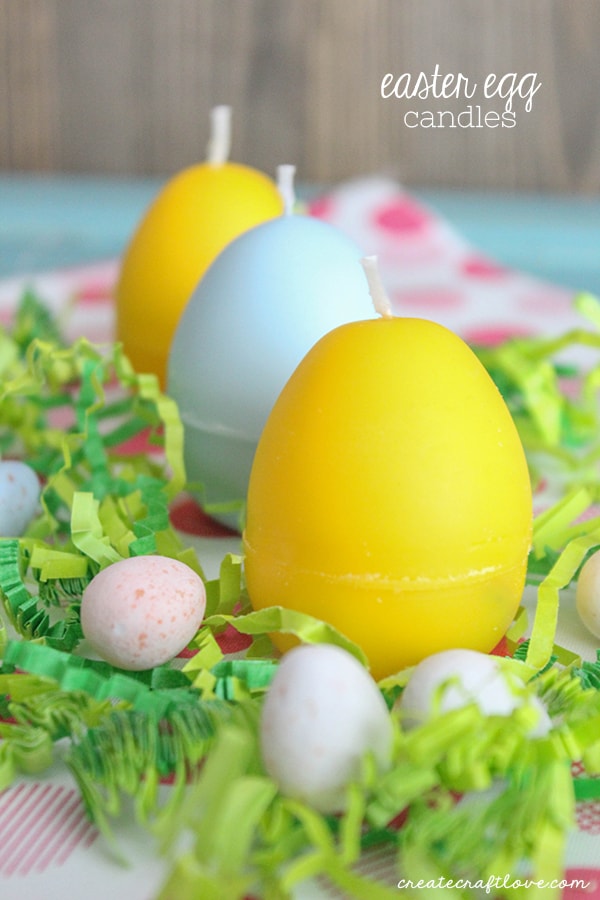
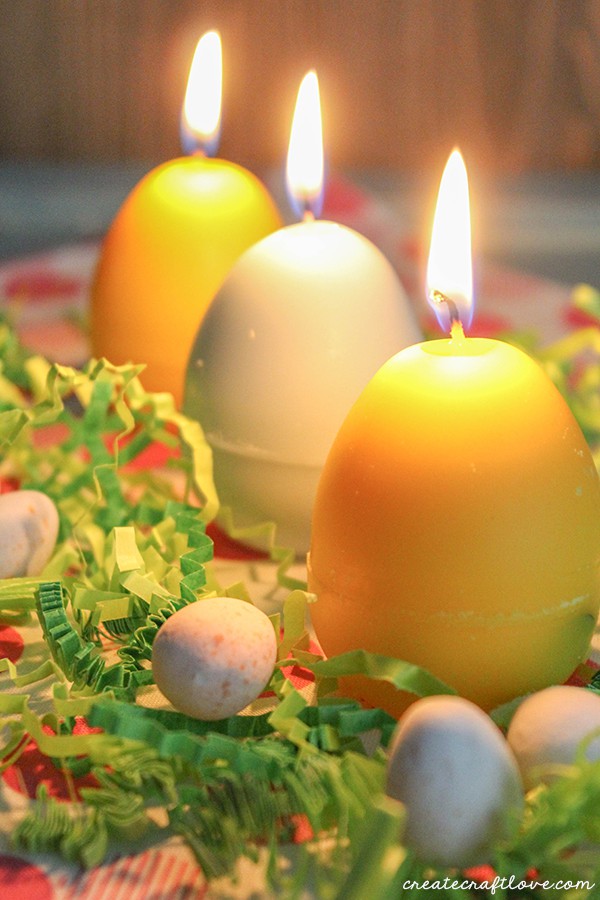
I finally put all of the Valentine decorations away over the weekend. Totally missed St. Patrick’s Day. But I love getting out my Easter decorations. It’s like spring has finally sprung and we are one step closer to summer! I have the cutest Easter Bunny votives that were begging for a little makeover. These Easter Egg Candles are sure to brighten up your spring decor!
This post contains affiliate links for your convenience. See my full disclosure here.
Materials needed to create your own Easter Egg Candles
- Silicone Easter egg mold – (I got this at Michaels but cannot find the link!)
- Candle making paraffin wax
- 3 inch candle wicks
- Yellow liquid dye
- Turquoise waters liquid dye
- Vanilla fragrance oil
- Seamless pouring container
Begin by poking a small hold in the top of the egg mold with a thumb tack. Thread the wick through the hole.
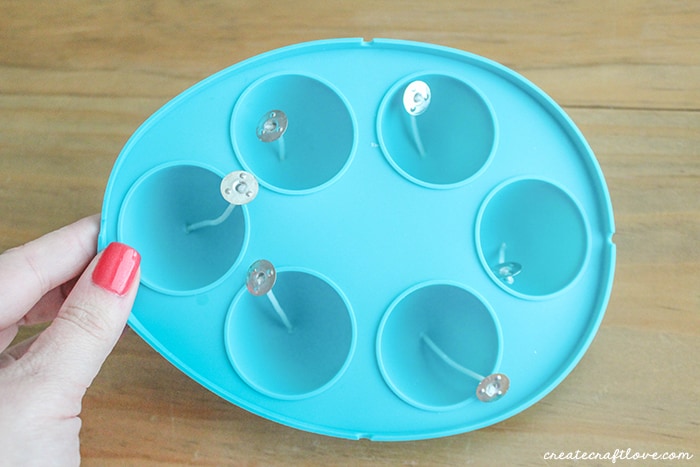
Place the lid on the top of the mold.
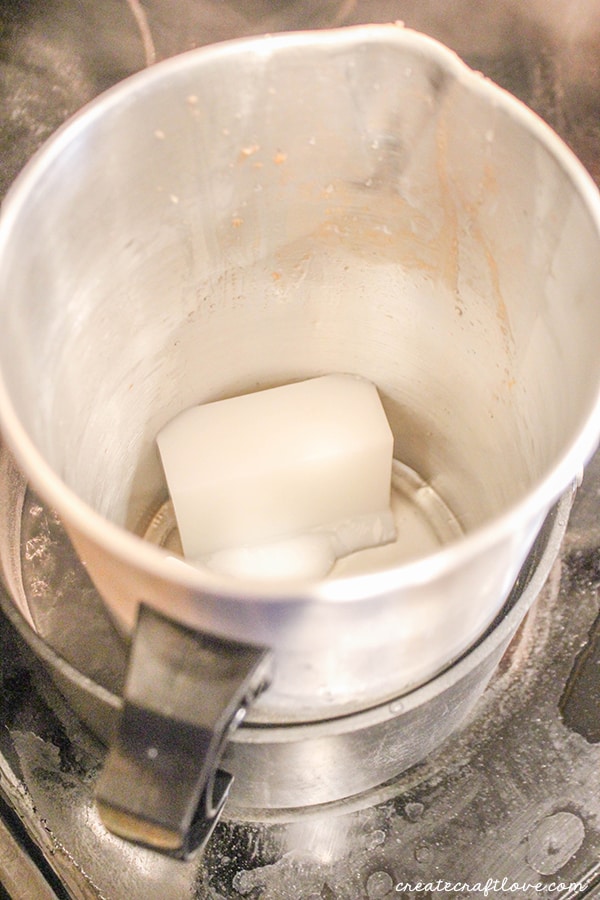
Melt the paraffin wax in the seamless pouring container. I placed water in a pot and then set the container in the middle of the water. Place the wax in the container. Turn on the stove top and start boiling the water.
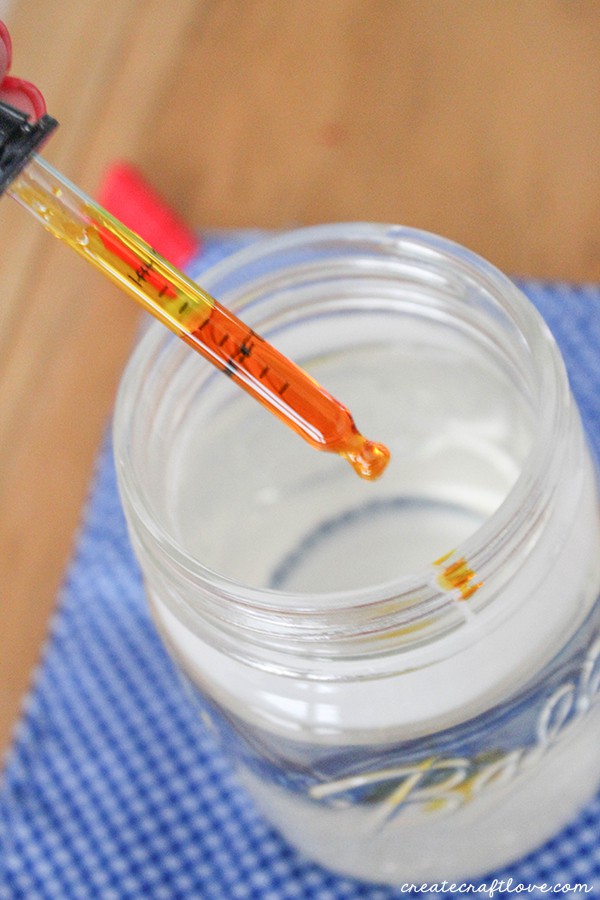
Once the wax is melted, pour into a mason jar. Use the eye dropper that came with the dye and slowly add until you reach your desired color.

Next, add your fragrance oil. I used vanilla.
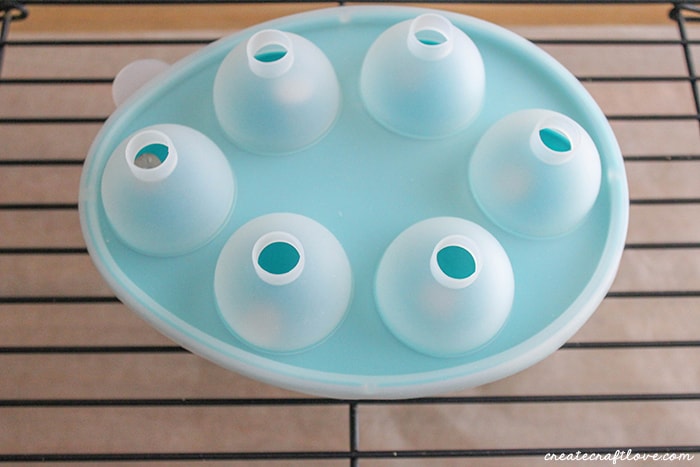
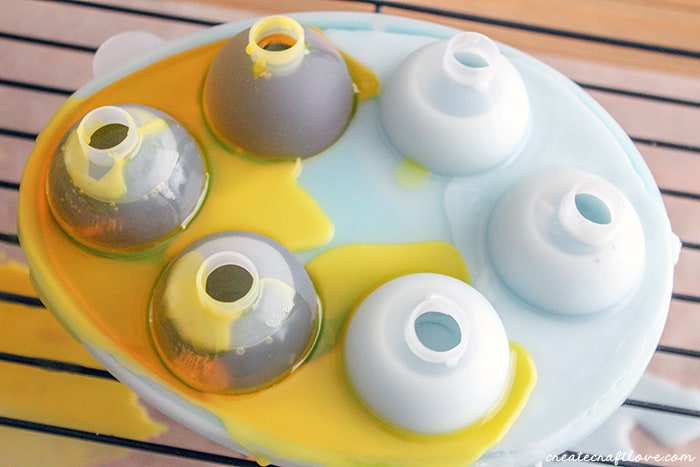
Set the mold on a baking rack. Place wax paper under the baking rack. Pour wax into the mold through the hole in the top.
(Yes – it gets messy.)
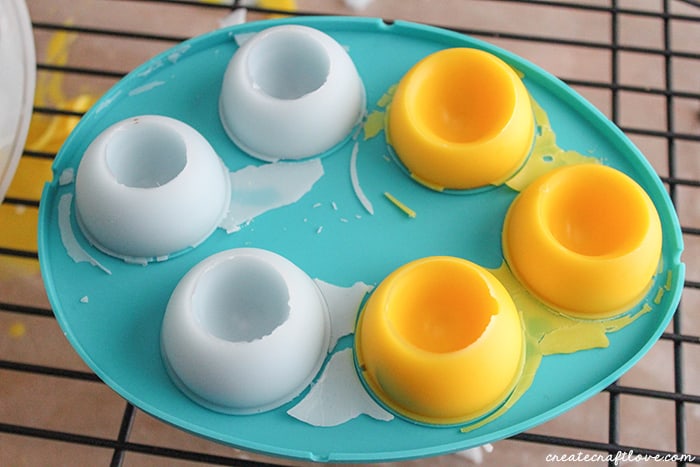
Allow the wax to dry and cool. This takes about 3-4 hours.
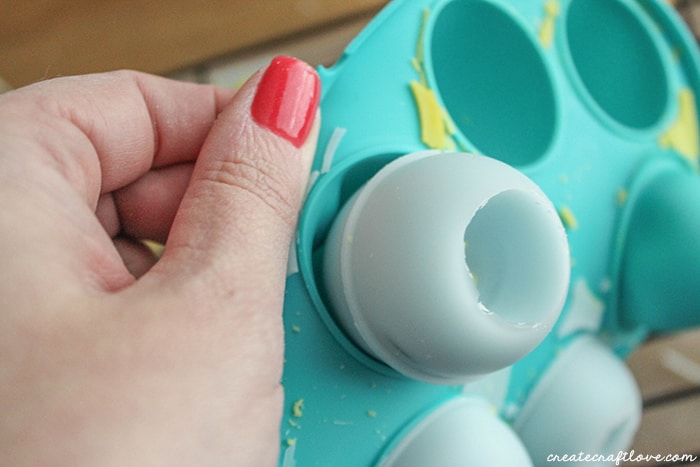
Once the candle is hardened, remove the mold.
Trim the wicks and you are set to go!
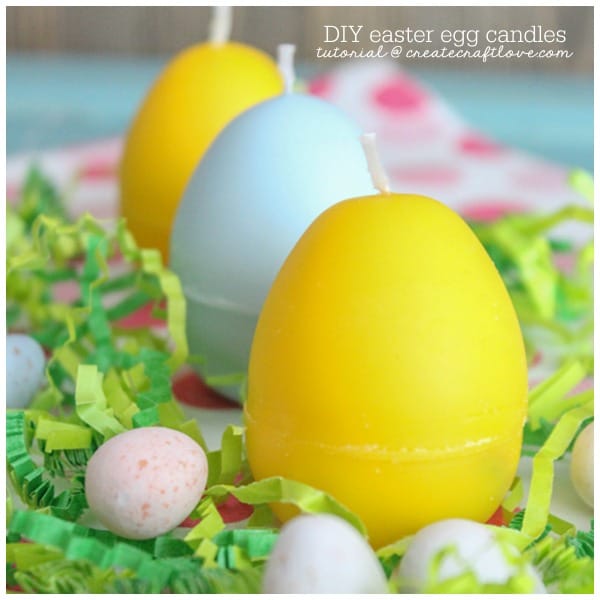
These will look beautiful on your Easter table!
And because I couldn’t resist, here is a pic of the Easter Egg Candles in the cute bunny votives I mentioned earlier.
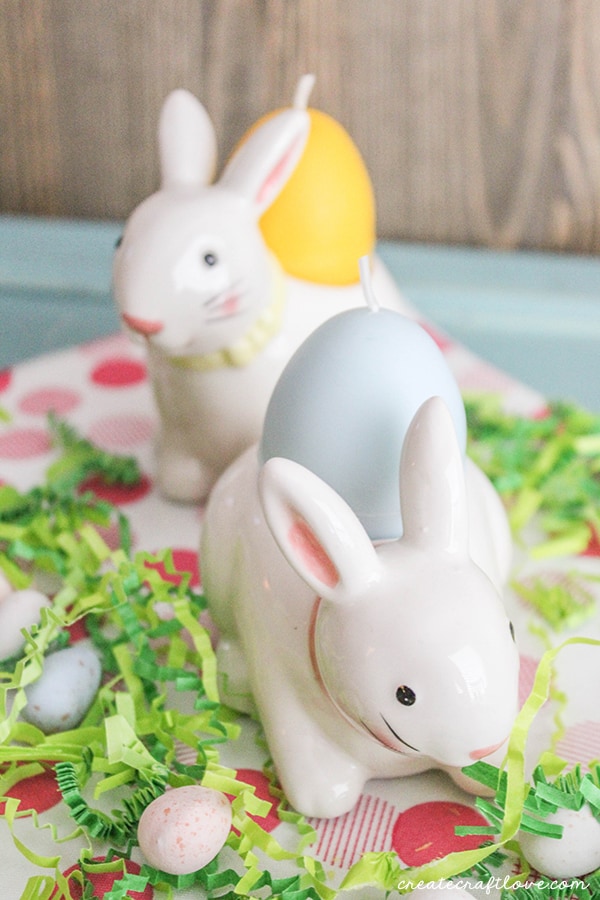
See? Too cute!!
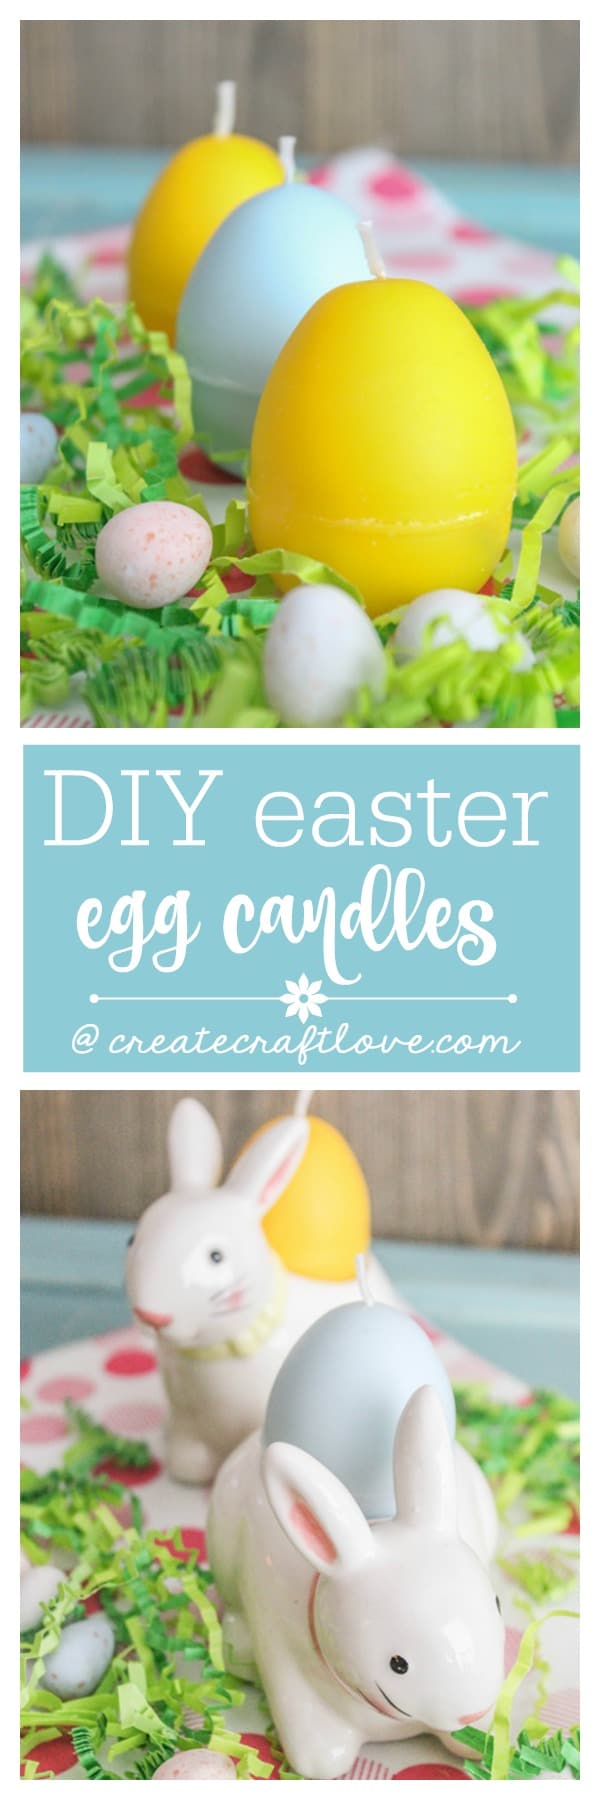
I’d LOVE for you to pin this image!
Share this image on Facebook!
Click HERE to see more great Easter Ideas!
