Sponsored by Ryobi Tools
Let me preface this post by saying – I am well aware of the pool set up by my family members and close friends on Facebook regarding my power tool use. Everyone is taking bets on what appendage will be the first to go and the time frame in which is will happen. Hate all you want, people, but be prepared for my awesomeness. And this is only the beginning…
Now for the back story. I picked up three pallets about a year and a half ago. They have been sitting in my basement collecting dust because I was not strong enough to pry them apart and my husband refused to do it since it was my project. I HAD to figure out a way to use these pallets so I could prove him wrong. He was going to have me abandon them when we move later this month! When I started on my Power Tools for Mommies series, I was able to dream up something to make from these babies. {And say “I told you so”.} I finally decided on making a DIY Buffet Caddy from that worn wood. It’s perfect for cookouts and barbecues!

Wanna make your own DIY Buffet Caddy?
Here’s what you need:
Old pallet {or you can use new wood and distress it yourself}
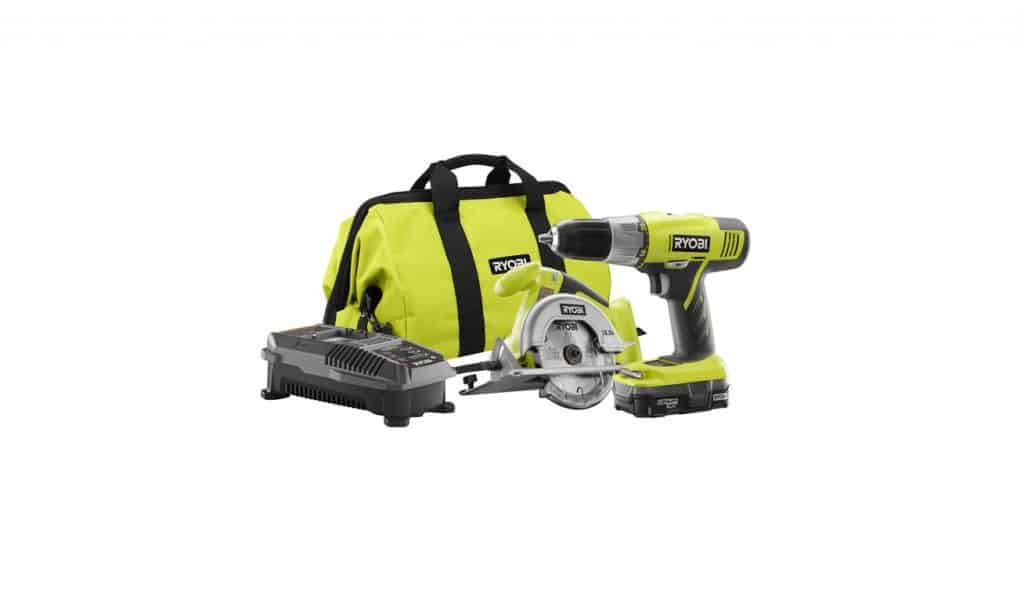
Ryobi 18V One+ Lithium Ion Starter Combo Kit – Circular saw and drill
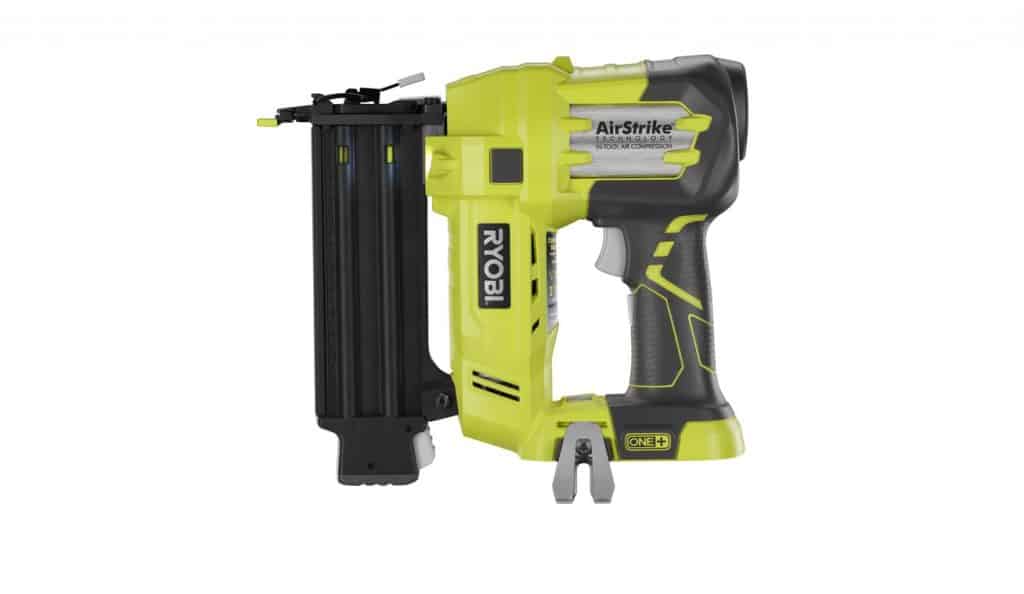
Ryobi Air Strike and 1-1/4” 18 Gauge Brad Nails
Saw horses
Clamps
Wood glue
3/4 inch wood bit
I enlisted my dad’s help for this project since he’s an engineer and could help me figure out the little details of designing the plan. Here’s what we came up with over coffee at IHOP the other day.
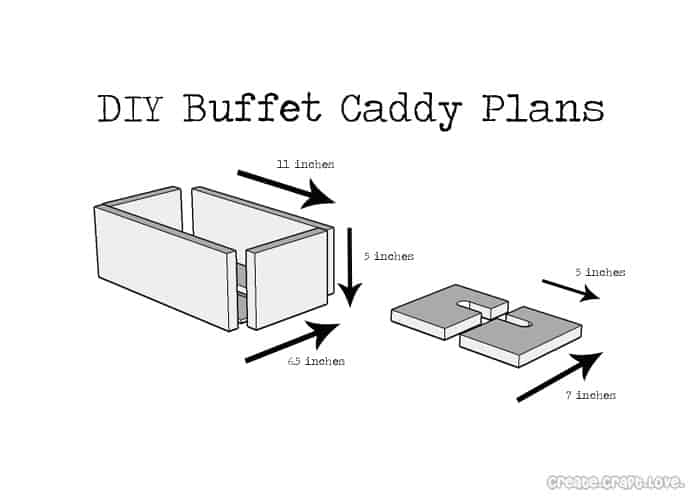
Utensil dividers not pictured – blogger fail!
I wanted the utensil sections to be an inner dimension of 3 inches by 3 inches and there are three of these. I wanted the area for the napkins to be equal to the size of the utensil sections. That means the napkin area would be 3 inches by 9 inches. Since the wood from the pallet is 1/2 inch deep, that would make my outer dimensions 11 inches by 7.5 inches {the three sections = 9 inches plus the 4 dividers which are 1/2 inch each}. The wood is 5 inches wide. I wanted it to be portable so we decided to do the middle divider in two sections {7 inches in height so we could cut out a handle hole}. Are you keeping up? This is why I enlisted the engineer…LOL
Armed with our plan of attack, we headed back to my house and inspected the pallets. Turns out it was a good think I had three of those bad boys. I used bits of wood from all three to get the straightest pieces.
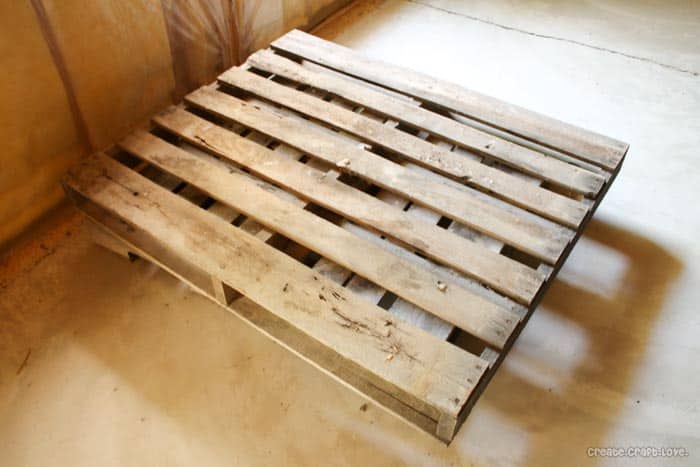
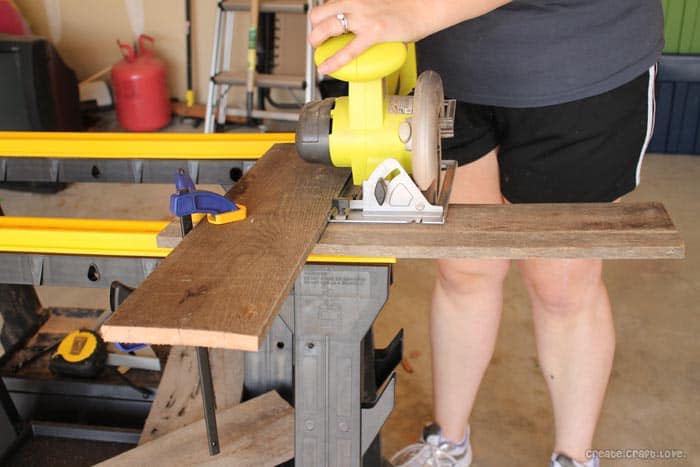
These pallets were too strong to pry apart, so I just used the circular saw to cut off the pieces I needed – careful to avoid any nails.
Now it’s time to begin cutting your wood for the DIY Buffet Caddy!
Here’s what to cut:
Bottom = (2) 10 inch x 3.25 inch pieces
Back and front = (2) 11 inch x 5 inch pieces
Sides = (2) 6.5 inch x 5 inch pieces
Middle divider = (2) 7 inch x 5 inch pieces
Utensil dividers = (2) 3 inch x 5 inch
I used my Ryobi circular saw. Not gonna lie, I was a little scared of losing an appendage. The thought of having my dad there with me helped a lot. What became evident is how slow I am at cutting with a circular saw! HA! I was afraid of a) losing aforementioned appendage or b) messing up the cut. Turns out I still have all appendages but lots of scrap wood! hee hee
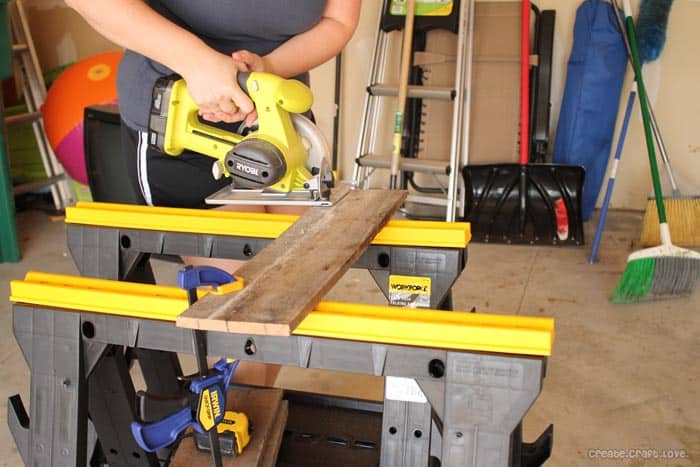
It also became clear that I needed a guide of some sort because I veer off towards the end of the cut. Here’s a little trick my dad taught me…Clamp the wood to the saw horses. Never cut between the saw horses! Only on the end! Then grab a squared piece of wood and clamp to the piece to be cut. Be sure to measure the foot of your circular saw from the blade to the edge and add that to the measurement. Otherwise, your pieces will be WAY off!
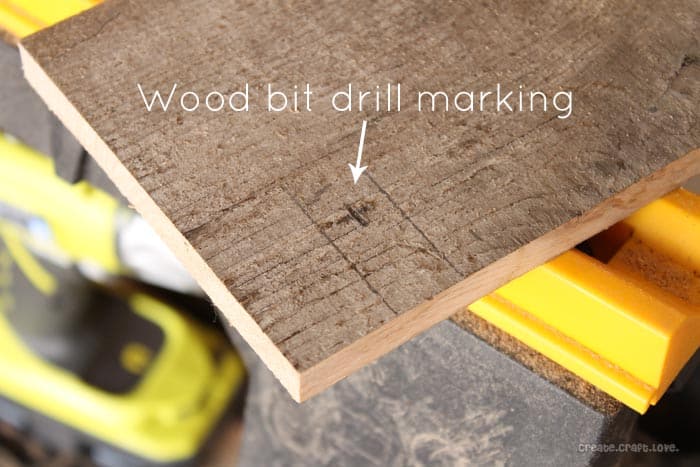
Once everything is cut, you need to measure the middle divider for the handle. We made the opening for the handle 3 inch by 3/4 inch. Measure down 1 inch from the top of the piece. Then measure down 1.75 inch from the top. Using those markings, draw two parallel lines approximately an 1.5 inches long from the inner edge. To mark the center of the hole for the drill bit, measure 1 3/8 inch from the inner edge and centered between the two lines.
Mark with an “x”. This will be where you place the point of your wood bit.
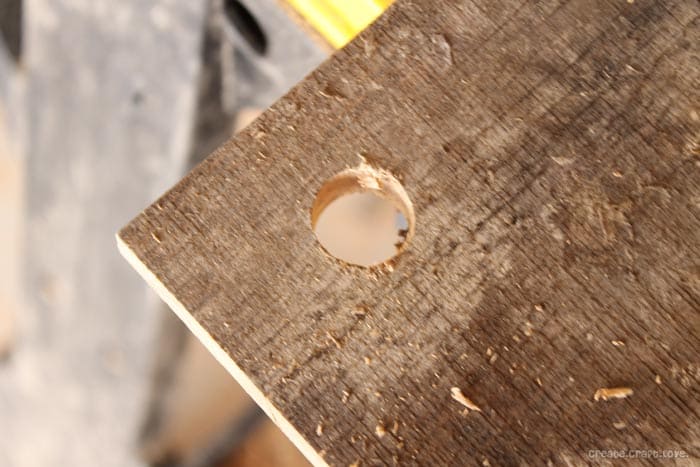
Attach the 3/4 inch wood bit to the drill, clamp the wood to the saw horse and begin drilling.
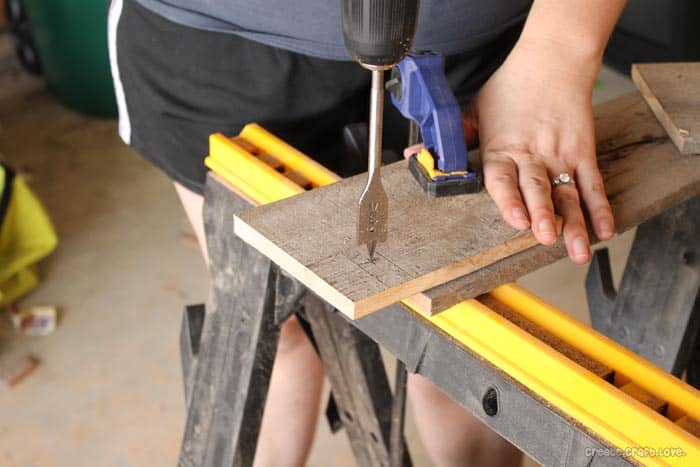
When the tip of the wood bit pierces through the other side of the wood, stop drilling and turn wood over.
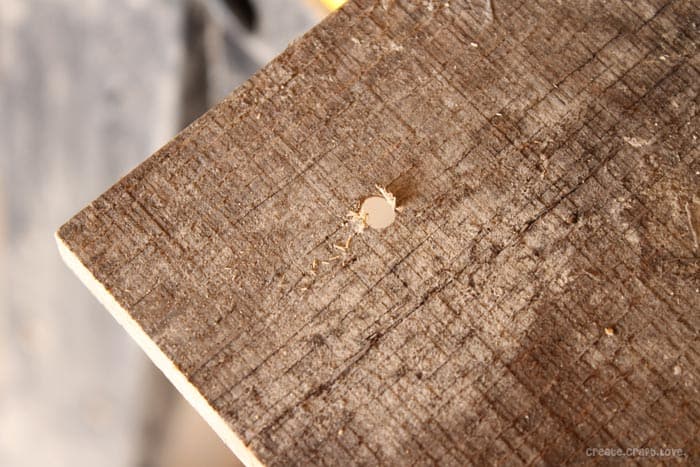
Restart drilling from this side, using the hole as your mark. This will prevent the wood from splintering.
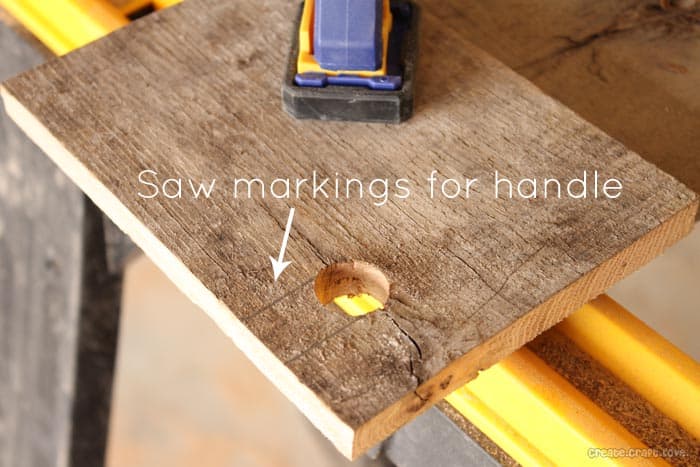
Now using the lines that you marked, cut out the rest of the handle using the circular saw. GO SLOW! You do not want to cut through the other side of the drilled hole. You will have to turn the board over to finish the cuts because the curvature of the blade means the bottom side of the cut will not go as far as the top.
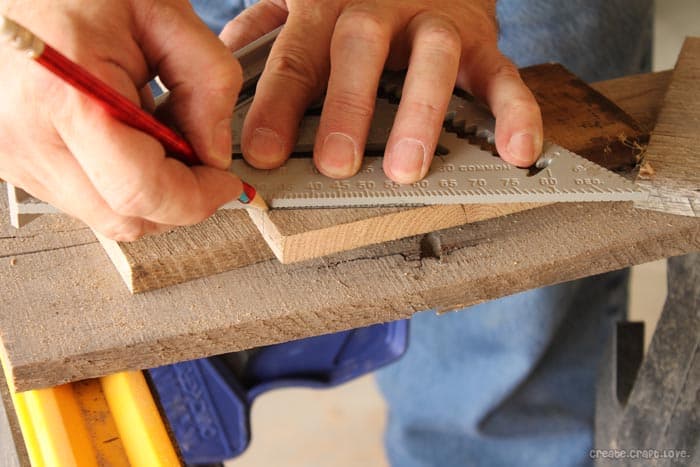
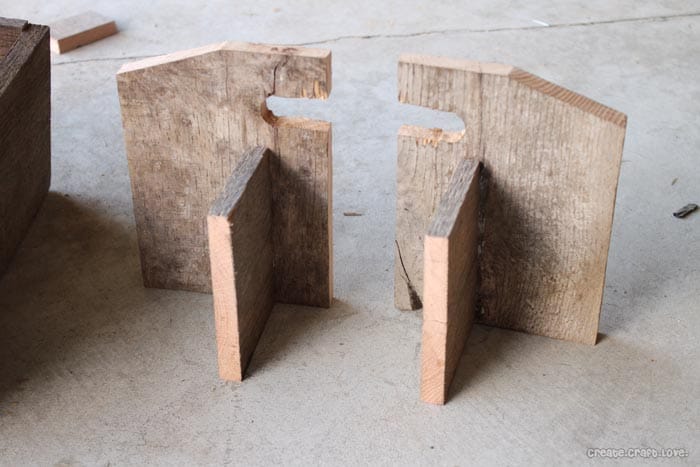
Once the handle was cut, Dad and I discussed whether we should angle the corner of the middle divider. We thought it would look nice to cut them. We measure one inch down the side and two inches across the top. Then drew a line connecting them with the square. Use the circular saw to cut along the line. Repeat on the other piece of the middle divider.
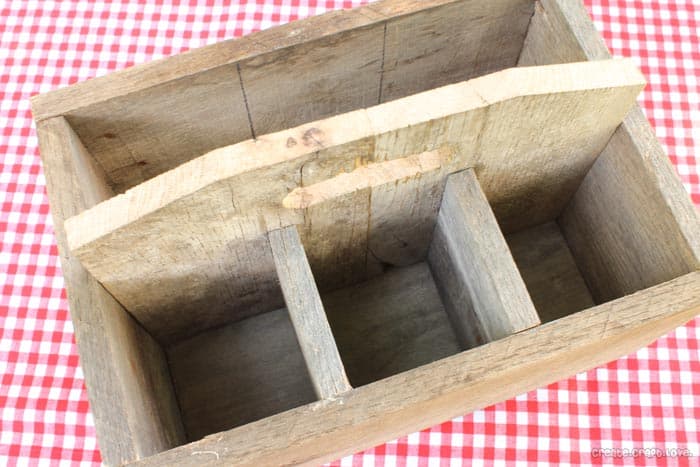
Let’s start assembling your DIY Buffet Caddy!
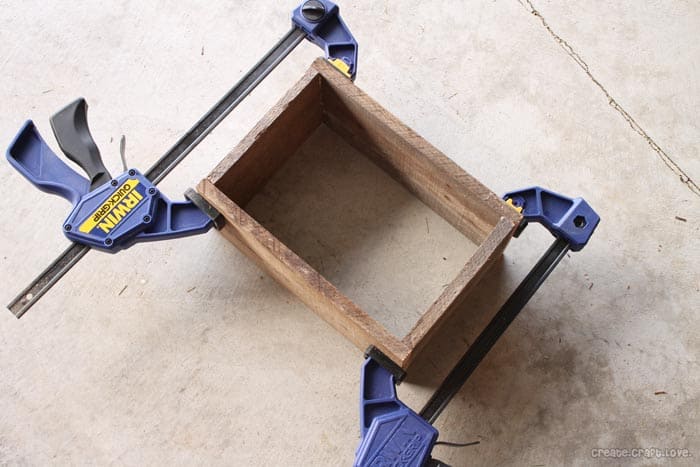
Frame out the sides. Do this prior to gluing and nailing so you can make sure your pieces fit together nicely.
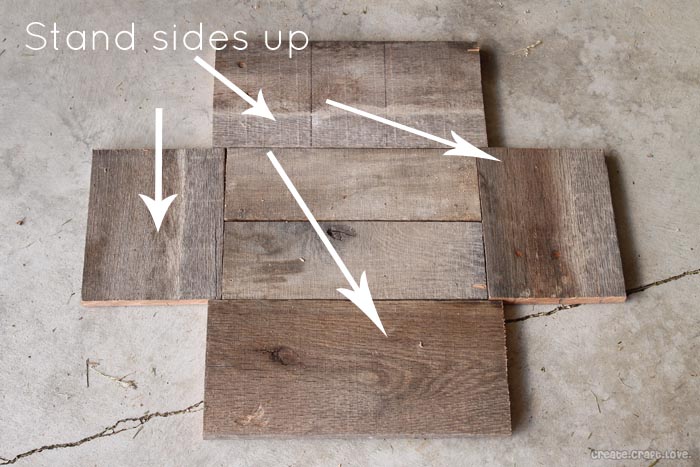
Once you are confident everything fits as it should, apply wood glue to the edges of the short sides. Add some glue to the inner side of the long pieces where the sides connect. Clamp together to allow for the wood glue to cure.
My sweet father bought me the Ryobi Air Strike! I had a chance to try it out at SNAP! It.is.amazing! No air compressor required! It can shoot up to 700 brads in a SINGLE charge!
I used it to nail the sides together. Then unclamp and nail where the clamp was placed.
Next you will add the bottom panels. Glue all around the edges that will be touching the sides. Clamp in place and nail as you did with the sides.
Here’s the tricky part…the middle divider.
Mark three inches in from each side. Draw a line using your square. Apply wood glue to one edge of the utensil divider and apply to the inside of the line. Repeat on the other side. Clamp the dividers in place and nail.
Apply wood glue to the middle of the two large pieces where the handle is. You will also need to apply wood glue to the edges that will come in contact with the sides. Be sure on the edge of the middle divider to only glue up 5 inches {since the upper part is exposed}.
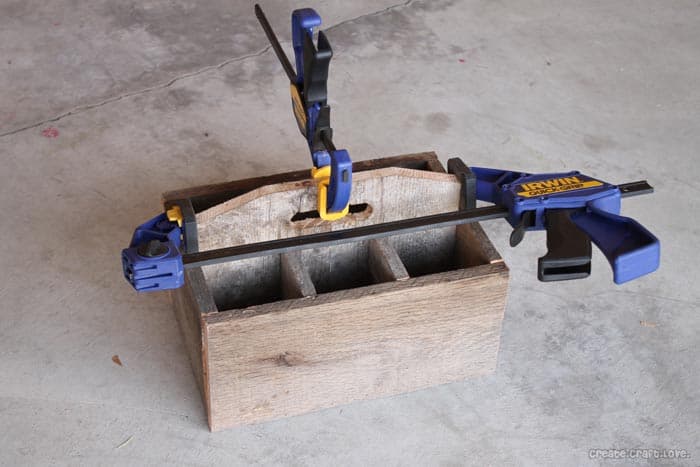
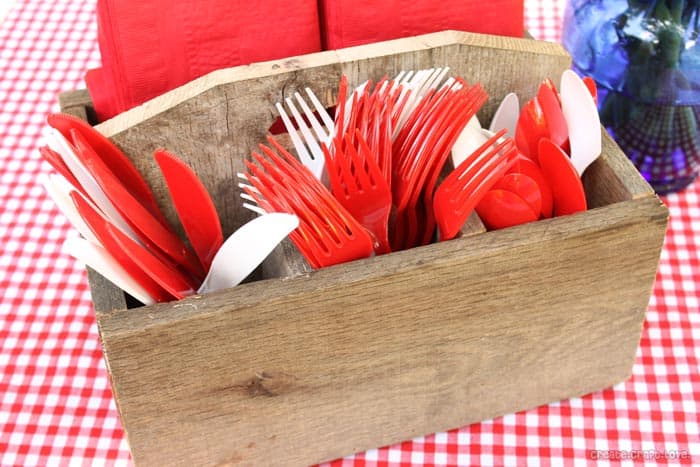
Insert into the side framed piece. Measure your sections. The inner diameter of the utensil sections is 3 inch x 3 inch. The inner diameter of the napkin section is 3 inch x 9 inch. Adjust the divider appropriately. Clamp into place. Nail the edges of the middle divider and the utensil dividers. Remove the clamps and nail where the clamps were.
Re-apply clamps once assembled to ensure the wood glue cures in the center of the two middle dividers since we did not secure these with nails. I also added a clamp to the top of the handle so it was centered. Let dry overnight.
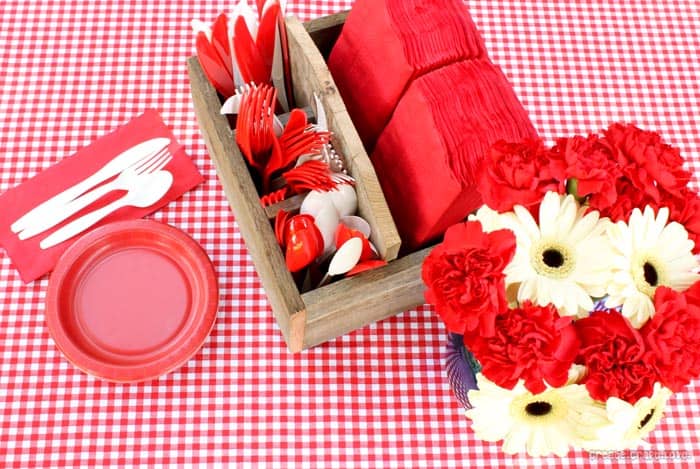
I am in LOVE with how this turned out! Something I built with my own two hands! It was harder designing it than building it!
Are you loving the Power Tools for Mommies series? I’m pretty sure I have cooler tools than my hubby now! I am having a blast stepping out of my comfort zone and learning something new! I hope you are too! I linked this project up at Ryobi Nation! Have you joined yet?
You could easily whip this DIY Buffet Caddy up for your Fourth of July or Canada Day celebrations!
I was given free product from Ryobi Tools for the purpose of this post. To read my full disclosure, click here.

[…] A DIY Buffet Caddy from Create Craft Love. […]