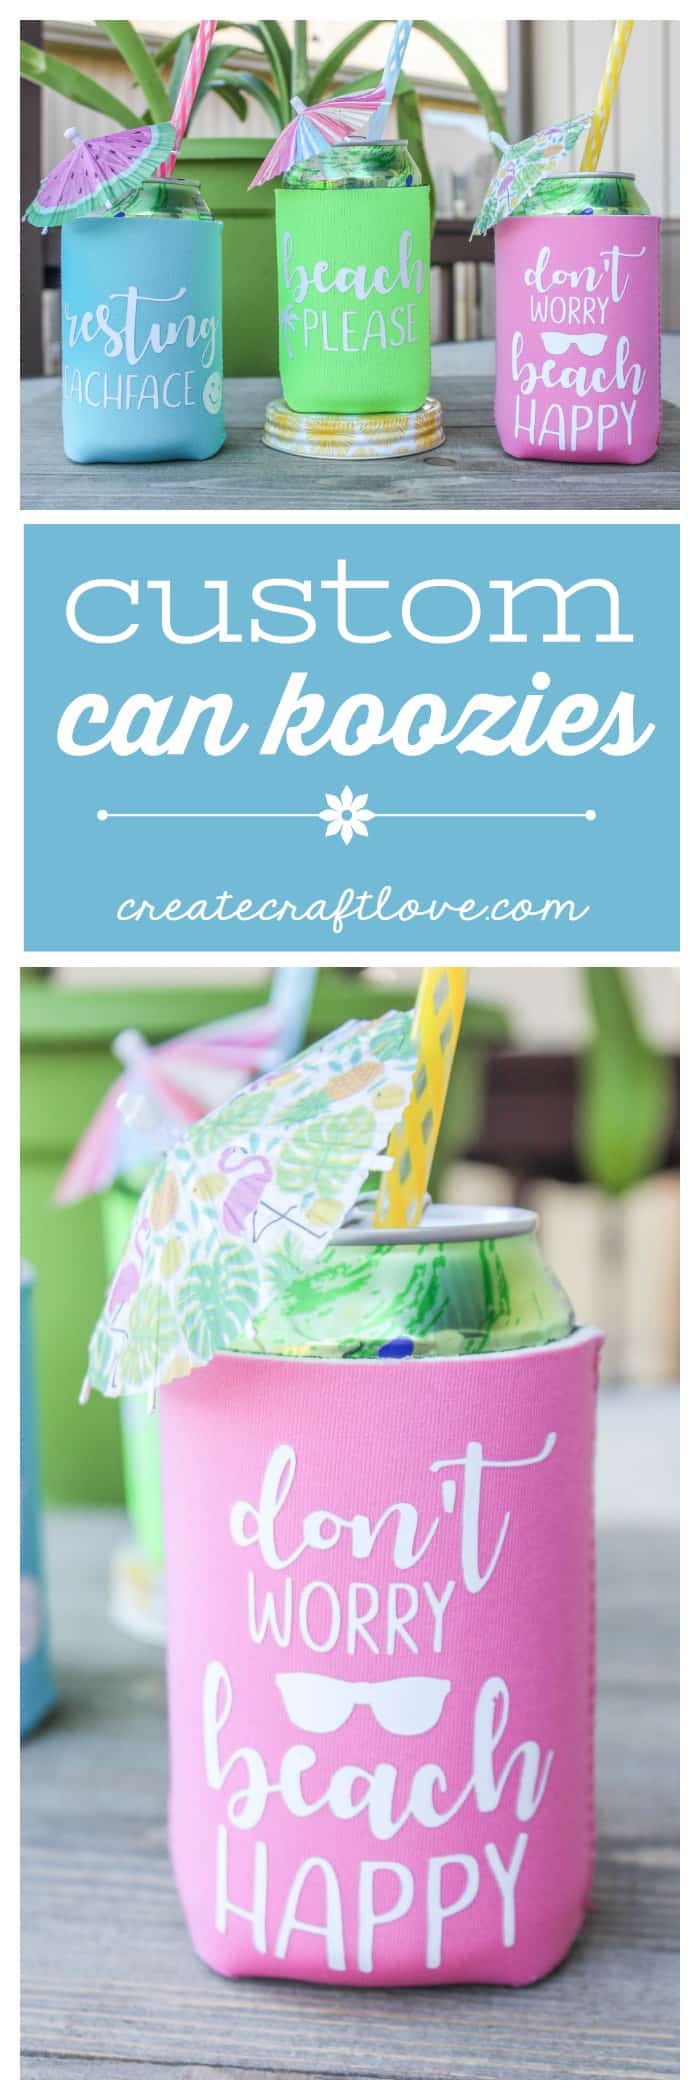
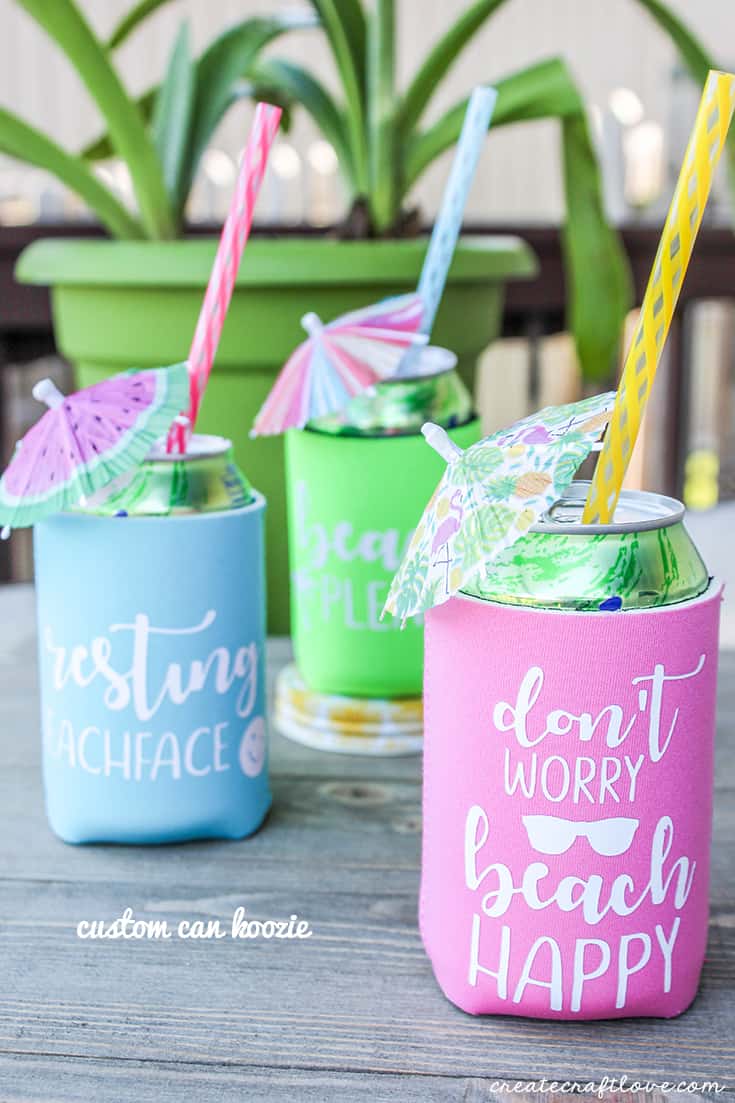
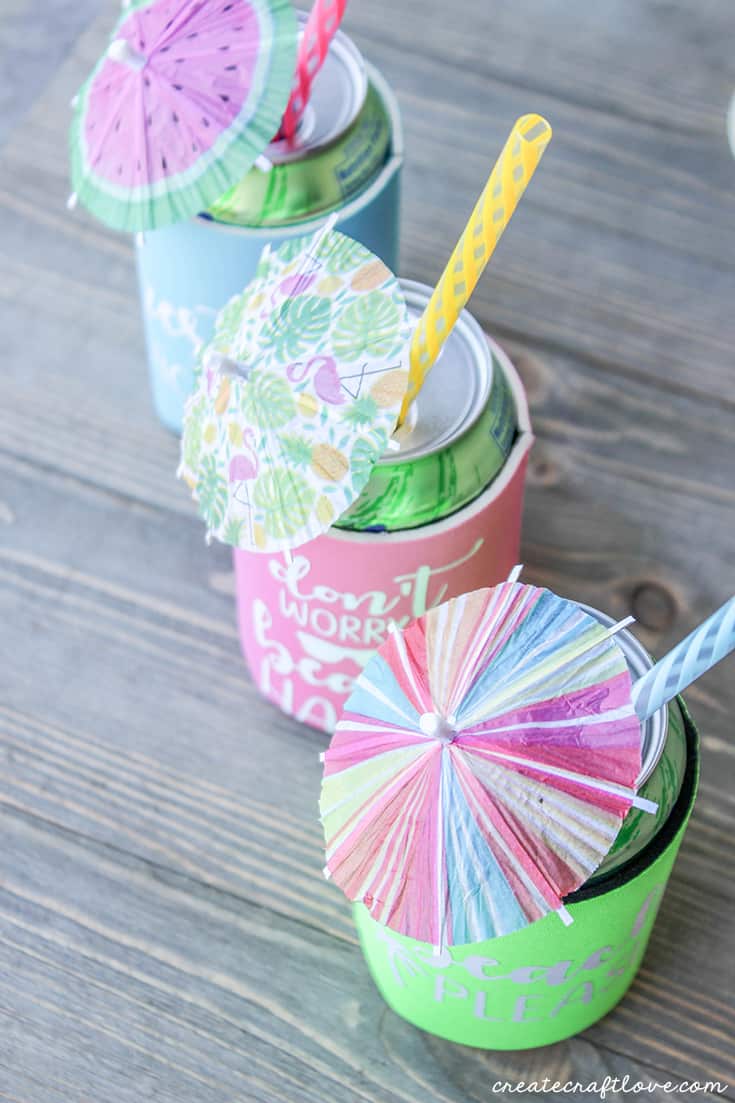
Did you know you can use heat transfer vinyl on can koozies? It’s true! Make your own Custom Can Koozies using your Cricut with these simple tips!
Tips for making your own Custom Can Koozies!
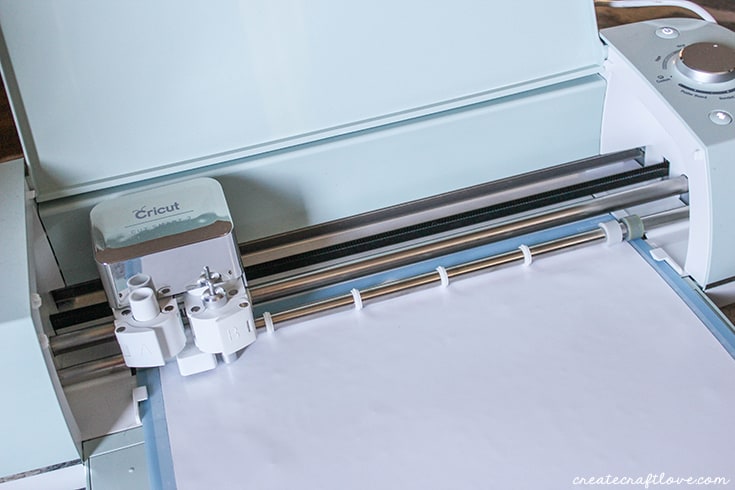
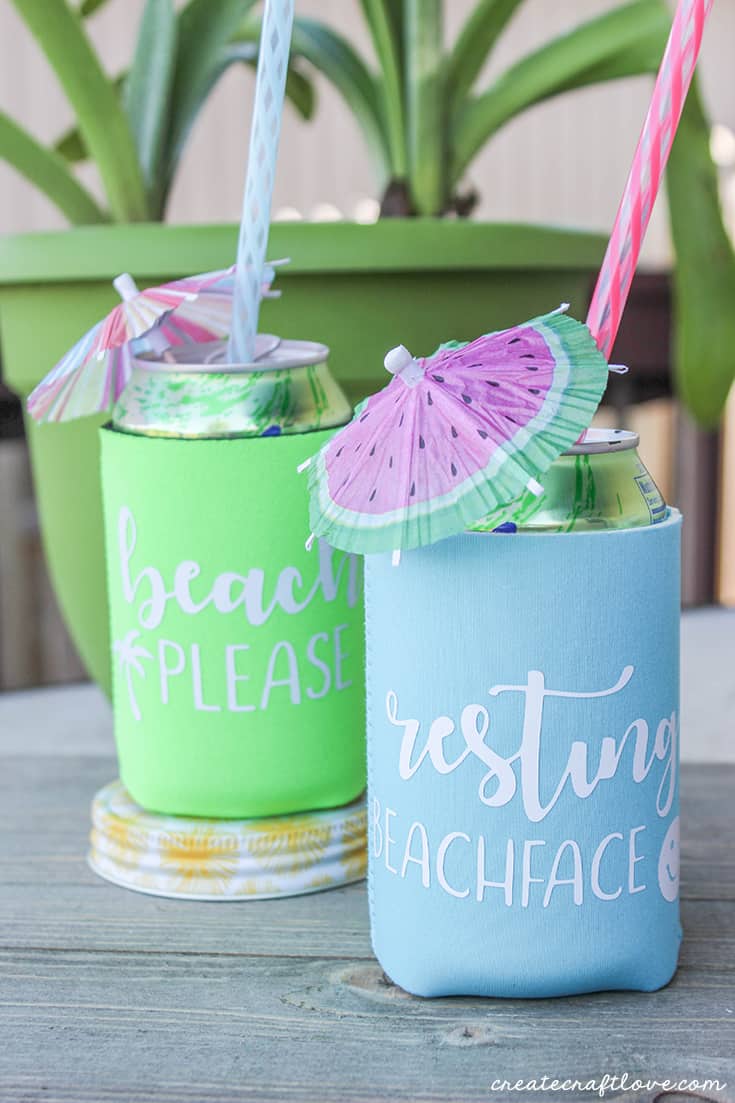
Like most vinyl projects, you are going to begin by creating your image in Design Space. I created these snarky sayings and will provide you with the a free cut file at the end of this post.
- Measure your can koozie that you will be working with and size the image to fit. Be sure to mirror the image so that once cut, it irons on in the correct orientation! Set your dial to iron on ensure correct depth of cut.
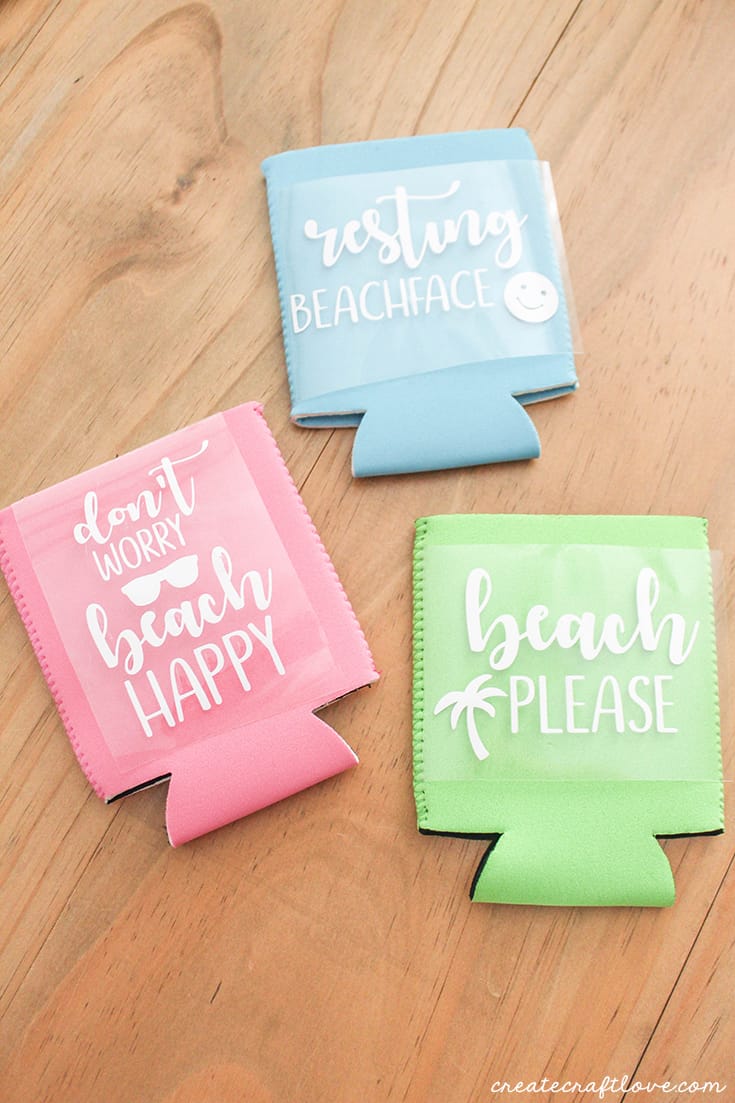
Once cut, weed away any excess vinyl. Place on can koozie to be sure it fits.
2. To keep the neoprene lying flat during ironing, I placed a piece of cardboard inside the can koozie. Otherwise, it has a tendency to curl which makes ironing even more difficult.
3. When ironing, do not hold iron in one place! The vinyl and neoprene can melt easily and mess up the image. This happened to me with the first try. What I’m about to tell you, goes against the instructions on the vinyl. I use a piece of scrap fabric to act as a barrier between the iron and the iron on vinyl. Press down with the iron and twist back and forth for about 20 seconds. You will be able to see the vinyl separating from the clear backing when it is adhered to the can koozie. If the vinyl is not separating, repeat the above process.
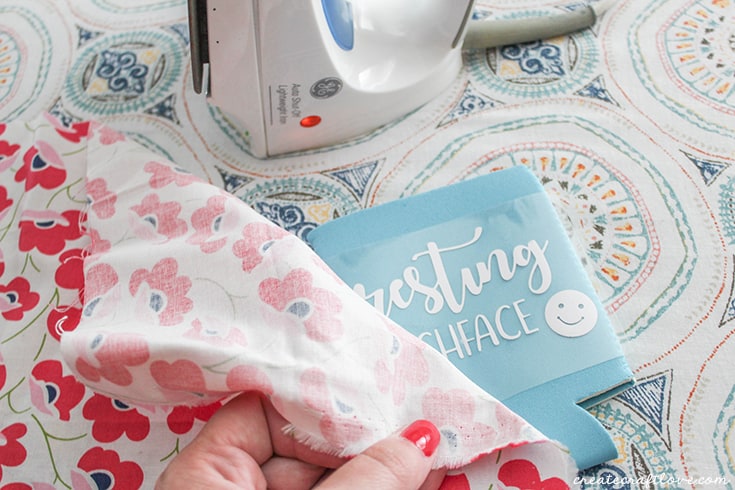
Allow to cool. Carefully remove the backing from the vinyl. Fold fabric in half and iron again without the plastic backing for an additional 20 seconds.
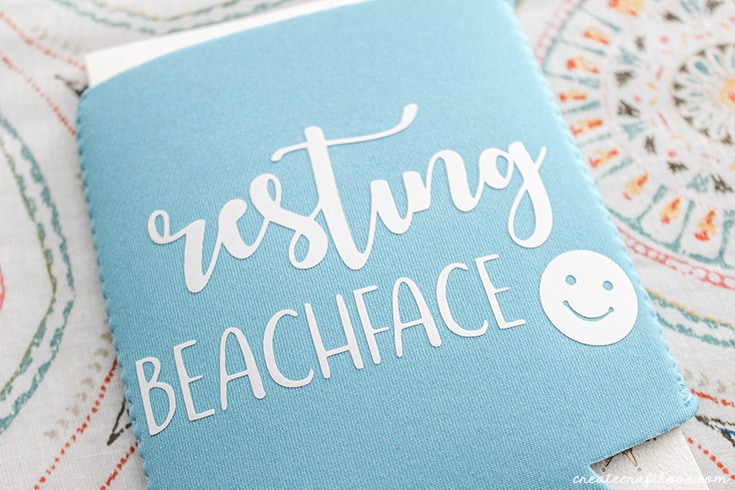
Remove cardboard and add beverage of your choice!
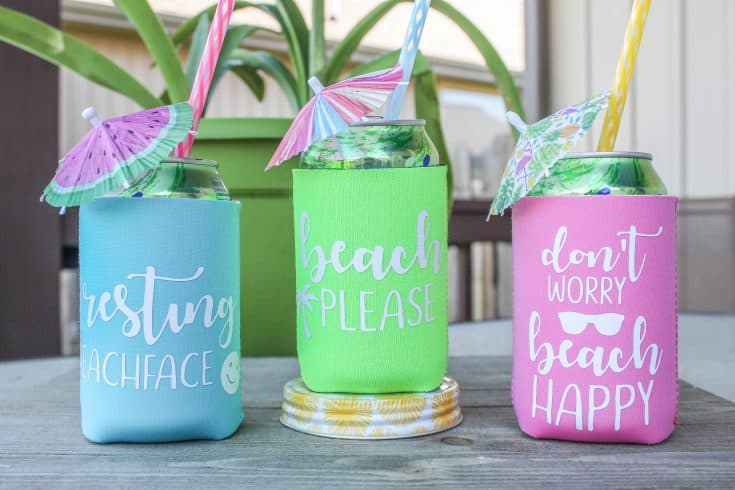
I love how these turned out! Super easy and quick hostess gift for summer parties!
Grab your free cut file for your Custom Can Koozies!
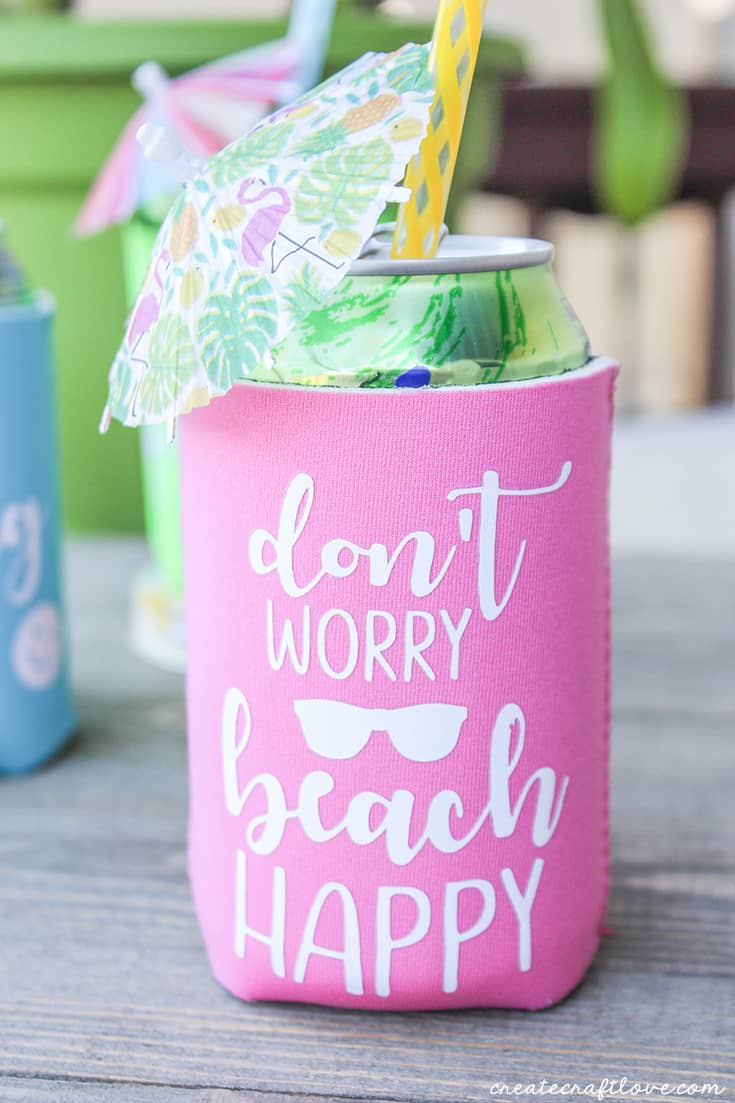
The beach is calling and I must go…
I’d love for you to pin this image!