I just mailed off my Valentines for the Valentines Exchange last week! And I am beyond thrilled with how they turned out! It should come as no surprise to those of you who follow me on a regular basis, that I decided to go with washi tape. {hee hee} Today I’m going to share a super easy tutorial on how to make your own Washi Tape Valentines!
Wanna learn how to make your own Washi Tape Valentines?
Here’s what you need:
Contact paper
Stencil
Marker
Contact paper
Washi tape
Blank cards
Computer and printer
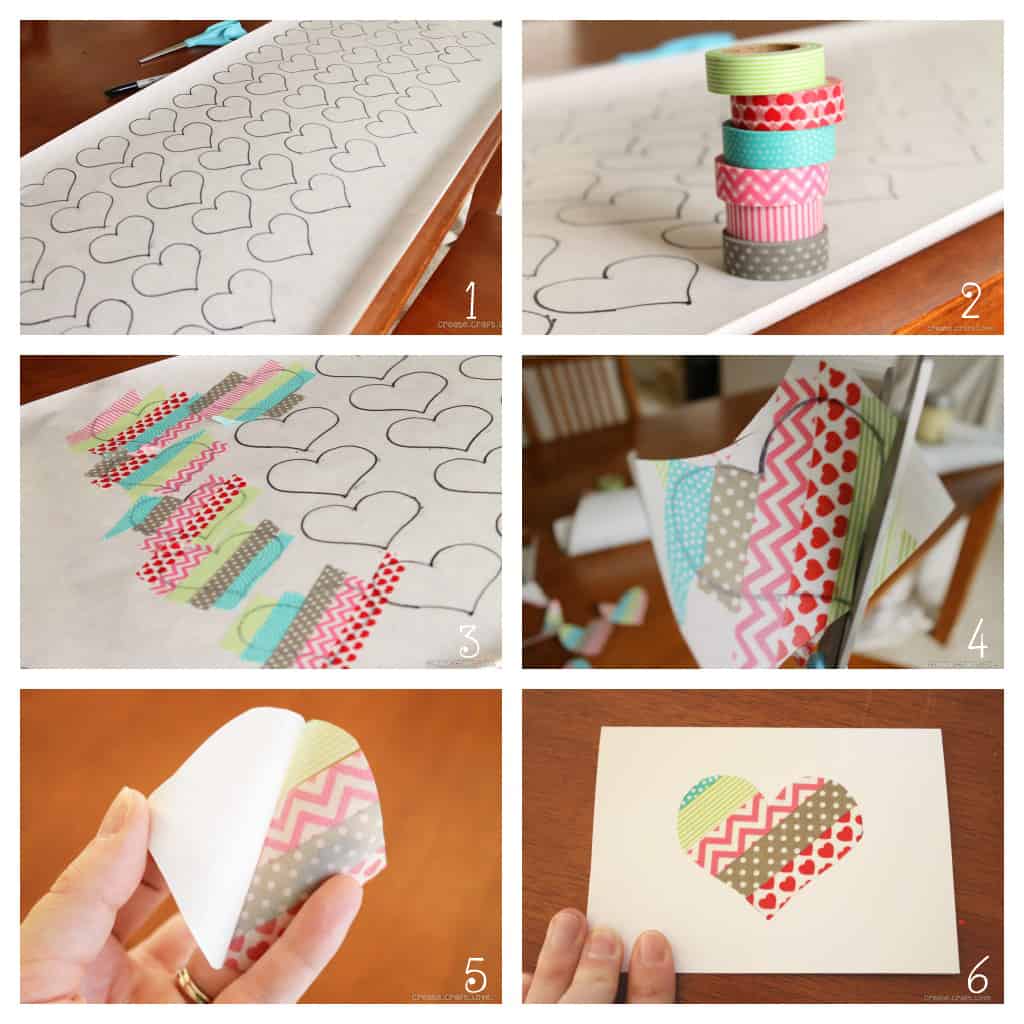
- Trace or stencil your heart design onto the contact paper using your marker. Since we had close to 50 people in the exchange, I made fifty hearts.
- Pick out coordinating washi tape.
- Apply washi tape over your design using whatever pattern you desire. I chose to do a diagonal but you could do vertical or horizontal too.
- Cut out each heart. I was very careful not to cut ON the line but just inside the line so the marker didn’t show through.
- Once all the hearts are cut out, carefully peel off the backing of the contact paper. You have created your own washi tape sticker!
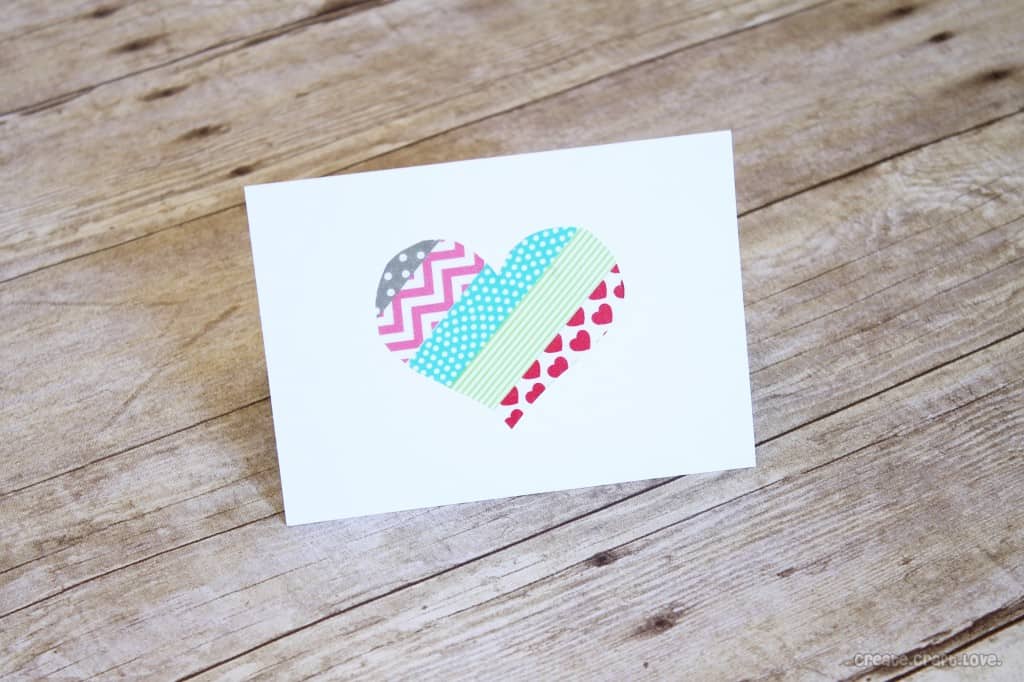
- Place on your card!
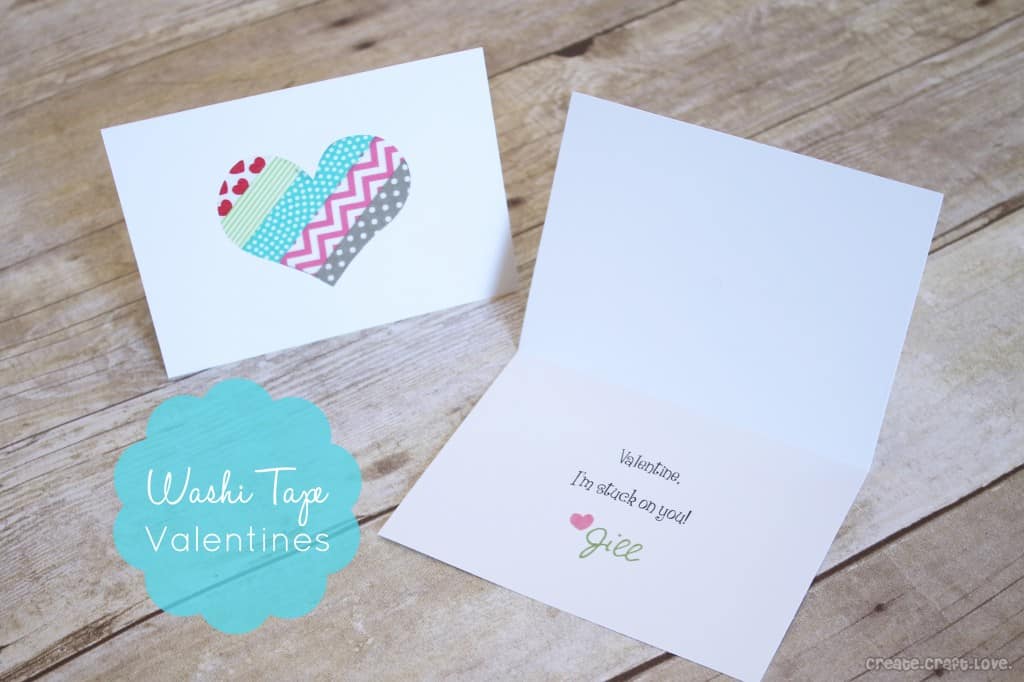
I bought a pack of blank bi-fold cards at Michael’s and printed up the inside of the card! {I even included my blog signature!}
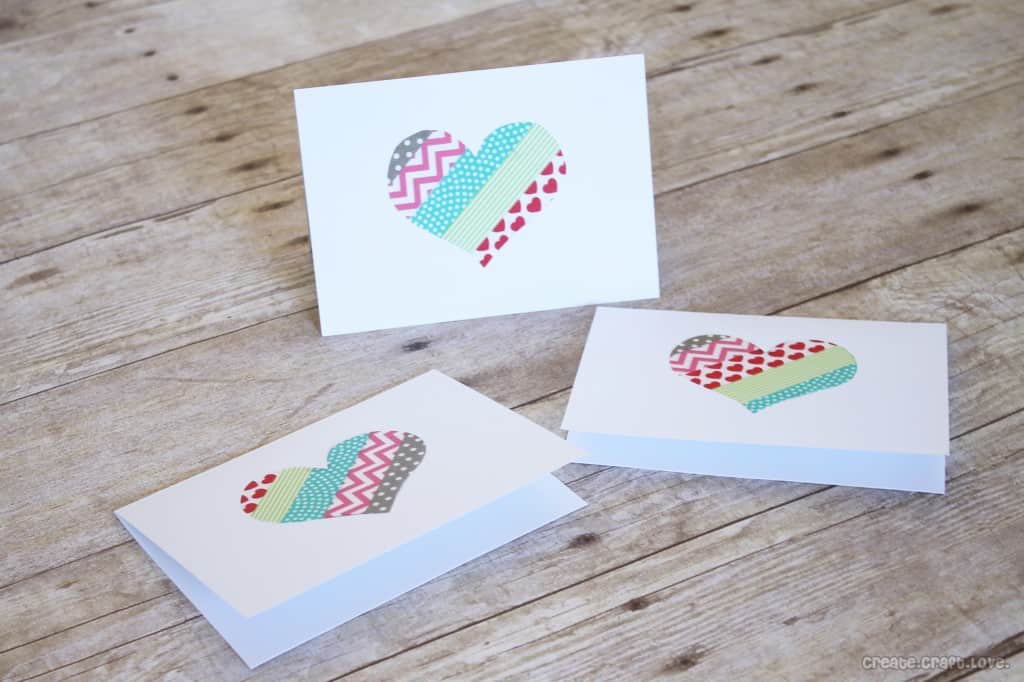
I just love how they turned out! Of course, you could do this easily with a die-cutting machine but I wanted to create something that EVERYONE could easily make!
Have you finished your Valentines yet?

[…] the “Stuck on You” Valentines I made for these lovely ladies? If you missed it, click here. I’m super excited with how they turned […]