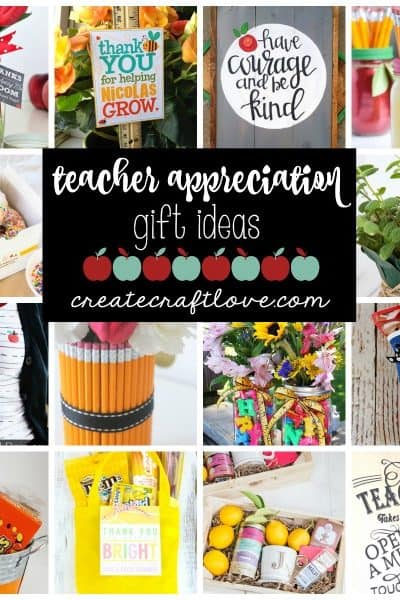
Crafts
As you can tell by our name, we love to create and craft! Here on the Create Craft Love blog you’ll find fun crafts for all skill levels and ages!
Not only is it a hobby, it’s also therapy. Creativity is just such a wonderful outlet. Over the years, we’ve come up with so many fun and unique ideas for holidays, parties, gift giving and more.
We are so happy to have you hear creating with us! Happy crafting!
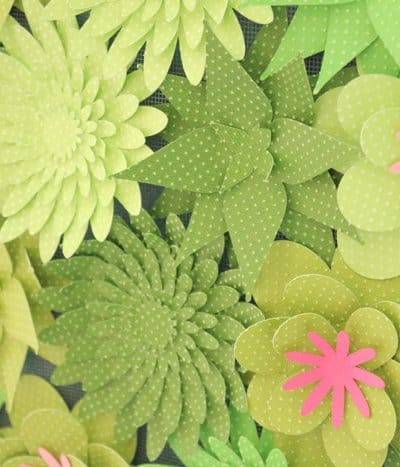
Vertical Wall Planter with Paper Succulents
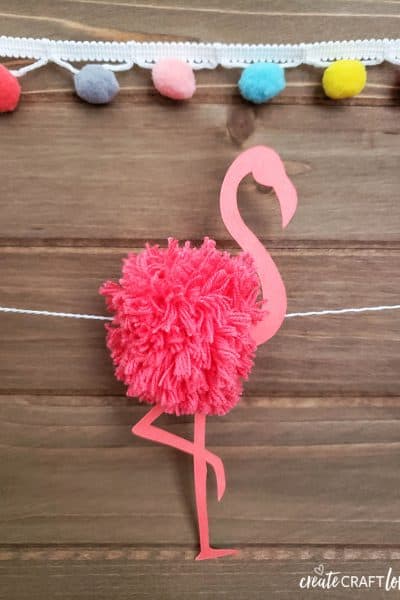
Flamingo Pom Pom Garland for Summer
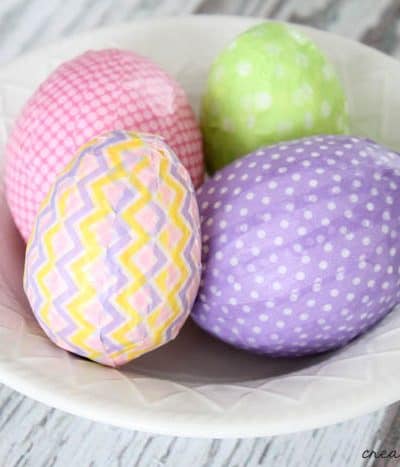
Washi Tape Easter Eggs
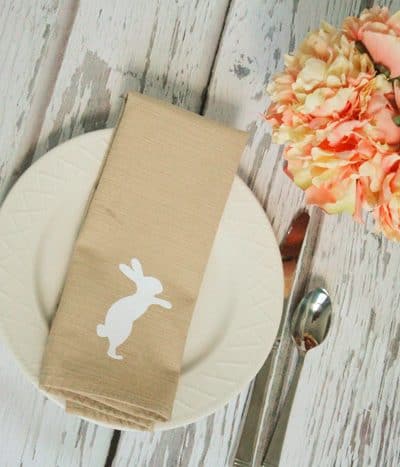
Simple Easter Napkins
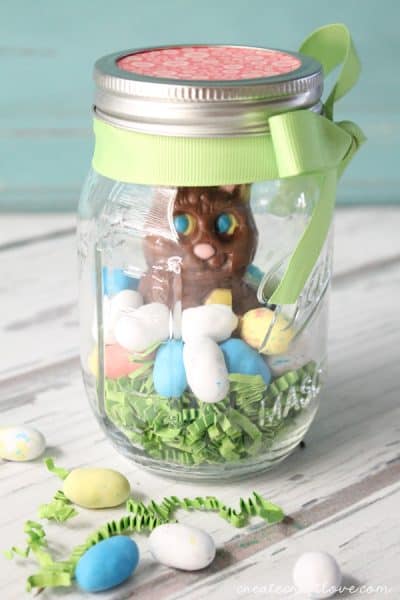
Mason Jar Easter Treat
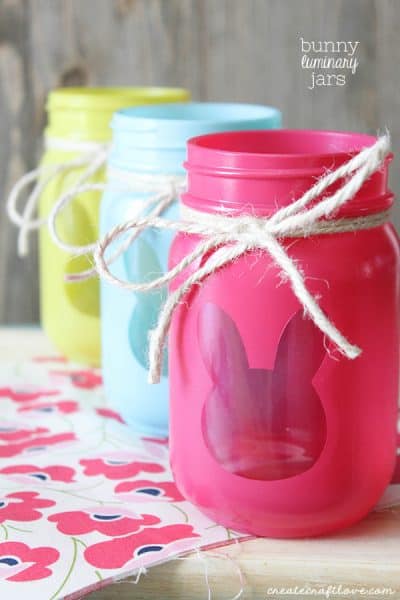
Bunny Luminary Jars
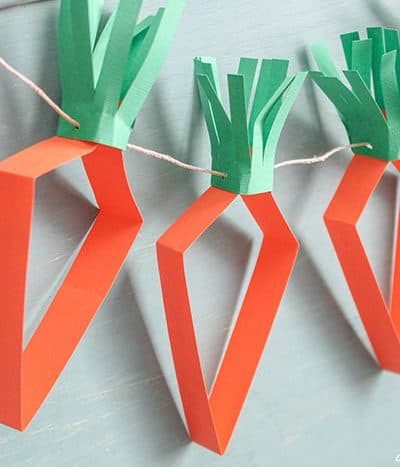
Paper Carrot Garland
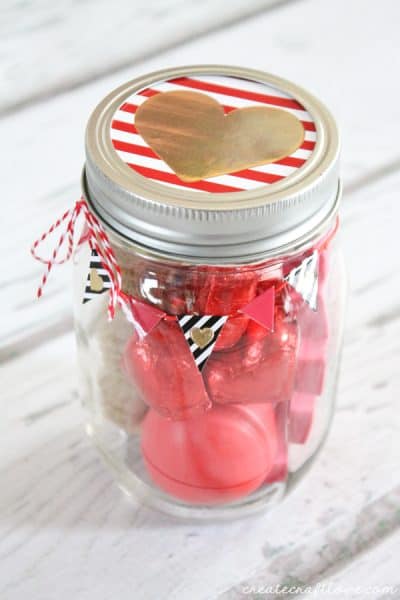
Galentine Valentine Mason Jar Gift

Grow Your Own Crystal Hearts

Cupcake Liner Wreath
Cupid’s Arrow Valentine’s Day Wreath
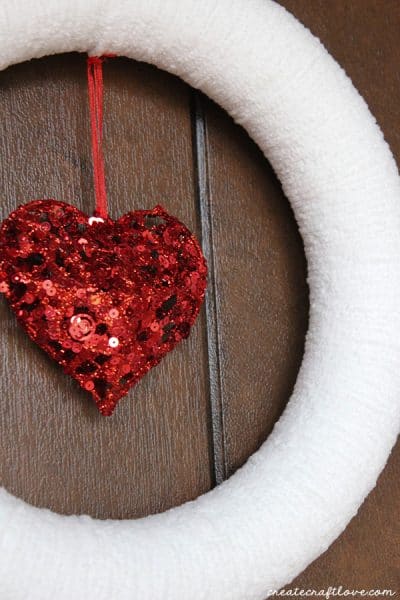
Yarn Wrapped Valentine Wreath
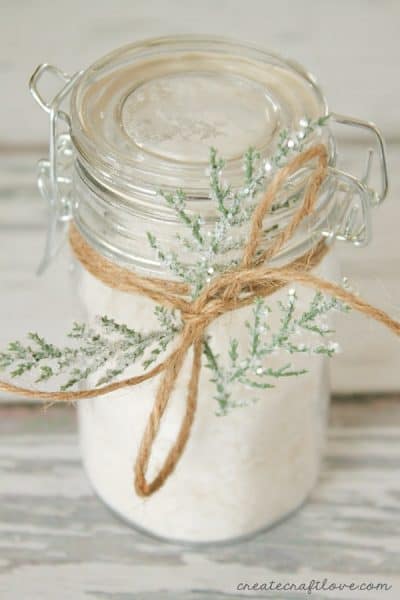
Eucalyptus Spearmint Bath Salts
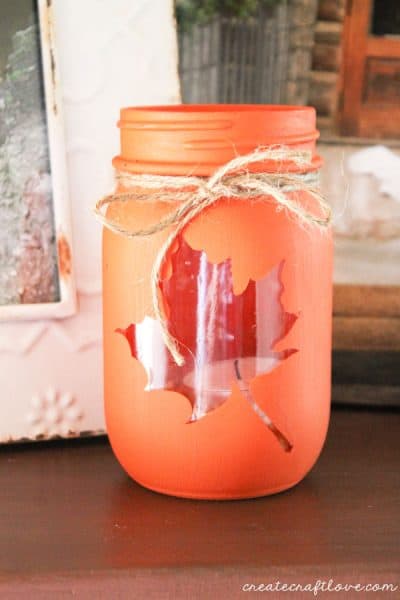
Mason Jar Fall Luminary

Halloween Wreath {aka Nevermore}
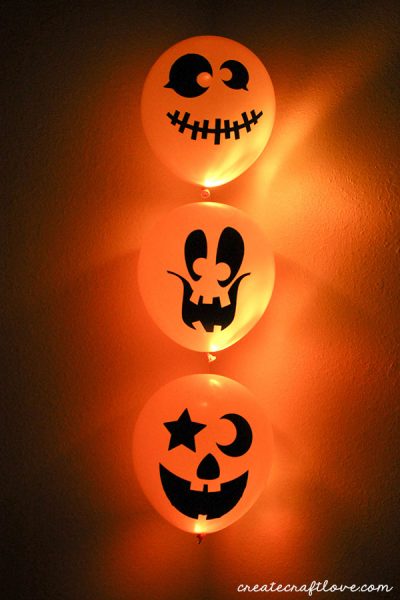
Glow in the Dark Pumpkin Balloons
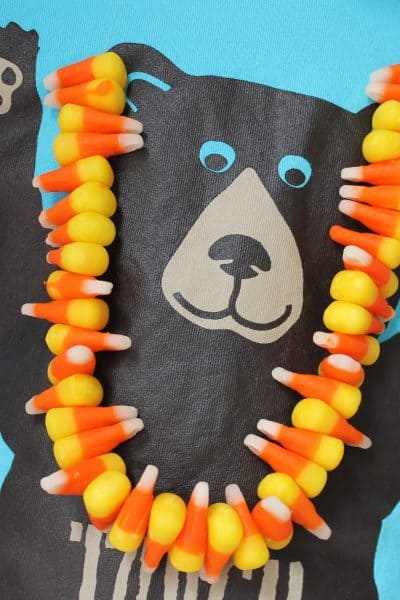
Candy Corn Necklace
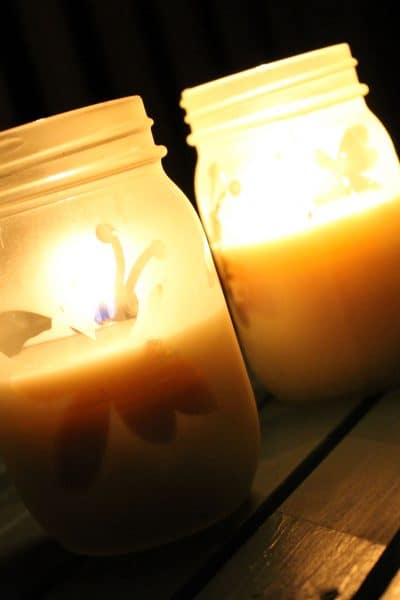
DIY Citronella Candles

DIY Snowball Fight
- 1
- 2
- 3
- …
- 15
- Next Page »